Lets talk color pickers in Substance Designer!

General / 11 November 2018

A common problem I seem to have when building an albedo texture is finding the balance between material flexibility, user friendliness and uniqueness. 

I like using uniform color pickers instead of HSL nodes because I find visually choosing your color is more intuitive. It also means you can set up the color pickers in such a way that your albedo can have a primary, second and tertiary colors. The problem is, its very hard to get a good variety of colors when only using uniform colors.

The gradient node does a good job of solving the variety problem by letting you sample many colors at once from reference, but then you loose the color picker flexibily and it becomes very unstable if using the gradient dynamic node or building color variations. How many hours have you spent getting your colors to look good, only for it to fall apart when you change the random seed value of the graph or the overall color of the material. If your anything like me, a lot.

These problems are what iv tried to solve with this node. Lots of videos below, so keep scrolling!


At its core, it's a simple color picker with HSL variation sliders:


Whats neat is the HSL channels are totally independent from each other.


You can also adjust the number of samples that should be taken too


When you start to layer these up, you can get some nice variety of colors. Its still controlled by a simple color picker though, giving good reliable control over the material. In this example, there are two layers.


And the built in seed value will sample different colors.


The important feature here, is the node is totally independent from the graphs global random seed value. Meaning what ever colors you set, will remain consistent regardless of the input.


This decoupling from the random seed value is really powerful when you plug in a color chart to the color input slot. Here I sample some colors from a reference image and use that information to sample colors from instead.


Notice its still preserving color when changing the random seed and instead we use the internal seed value to sample different colors from the chart. As before, we can choose how many samples we should take too.


We still have access to the variation slider too!


That is as far as iv gotten for now, so let me know your thoughts!
4C: Prague Conference - See you there!

General / 21 September 2018

I am pleased to announce that I will be speaking about Environment Texturing in Wolfenstein 2 at this years 4C conference! Its a relatively new event hosted by Wargaming and this time its coming to Prague!


There is gonna be some really nice talks this year and starts on the 5th Oct

https://conf4c.com/en/


If your going to the event, be sure to swing by! Otherwise, I think you will be able to listen to me babble later online.

Substance Manager Tool - Progress

General / 01 September 2018

Over time my library of substance nodes and folder structure has grown into a mess. So iv been building a tool around the Automation Toolkit to manage this and organize everything from one place. For those who are unfamiliar with it, the Automation Toolkit is a set of Python tools from Allegorithmic to manipulate substance files, and well, its pretty awesome.

My tool is still heavily wip and missing many features but here is my progress so far. On the left, it reads a project directory, listing all sbs and sbsar files in that directory. And then on the right, you can read and view the content of a file, displaying all the graphs, attributes, resources and dependencies

 I messed up the recordings a little and don't have a mouse cursor, but you get the idea.


The tool also lets me move any substance files from one location to another, bringing along any source data it finds with it as well as searching the entire project and updating any files which might have used the moved substance.

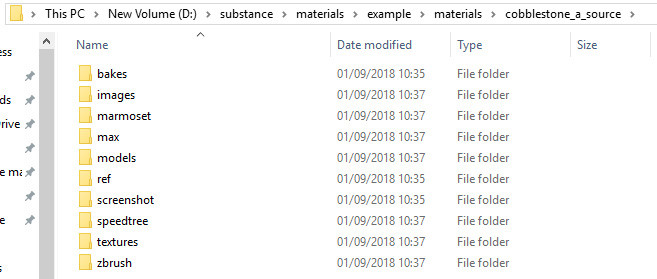
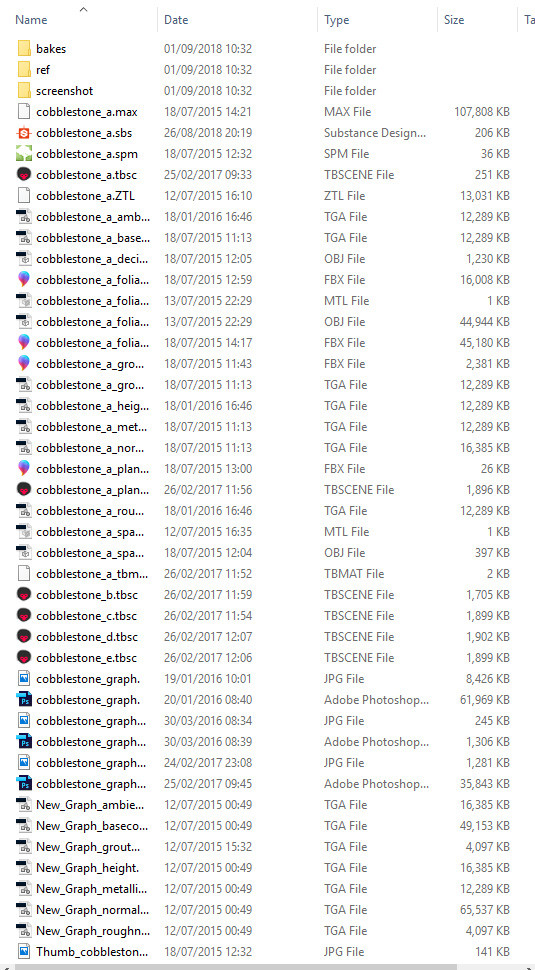
How does it know what source data to look for? Well at the start of this, most of my substance files were in folders like this.

I got all sorts of junk here, all in one folder, what a mess. So I wrote a converter to take all this stuff and organize it neatly, with _source folder for every substance. Thats what the tool looks for when moving files


The tool also allows for relocating of resources and dependencies. You can either manually search for the path, or have the tool try to automatically find the missing dependencies for you. If it finds more than one potential match, it will ask you to choose one.

You can also search through the entire project to find out where and which files are using a given substance

Hope you all like it so far!


Art Station Store!

General / 08 July 2018

Hi all,

My stone generator tutorial series is now up on the art station store, along with a 30% discount if you buy it here! The discount will run for next week, so pick it up if you havent yet!

https://www.artstation.com/benwilson/store/8yP/stone-layering-generator-tutorial-series


Samorost Fan Art Scene Progress #1

General / 25 June 2018

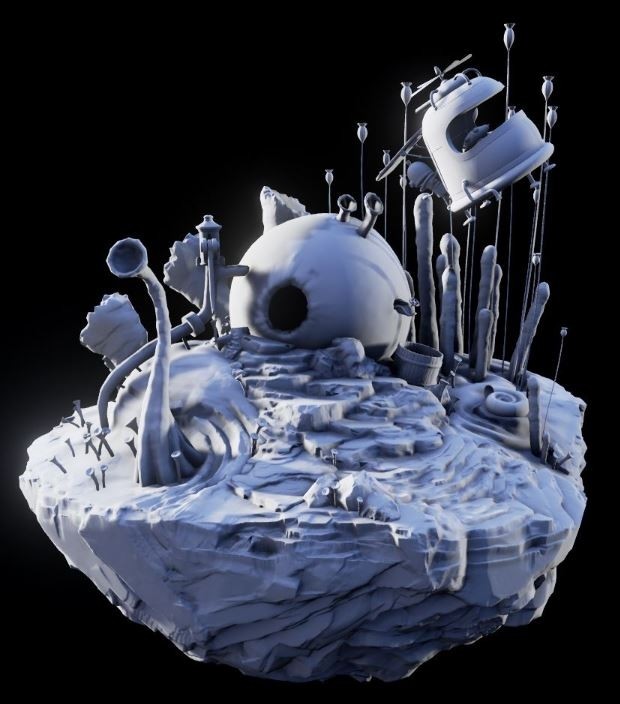
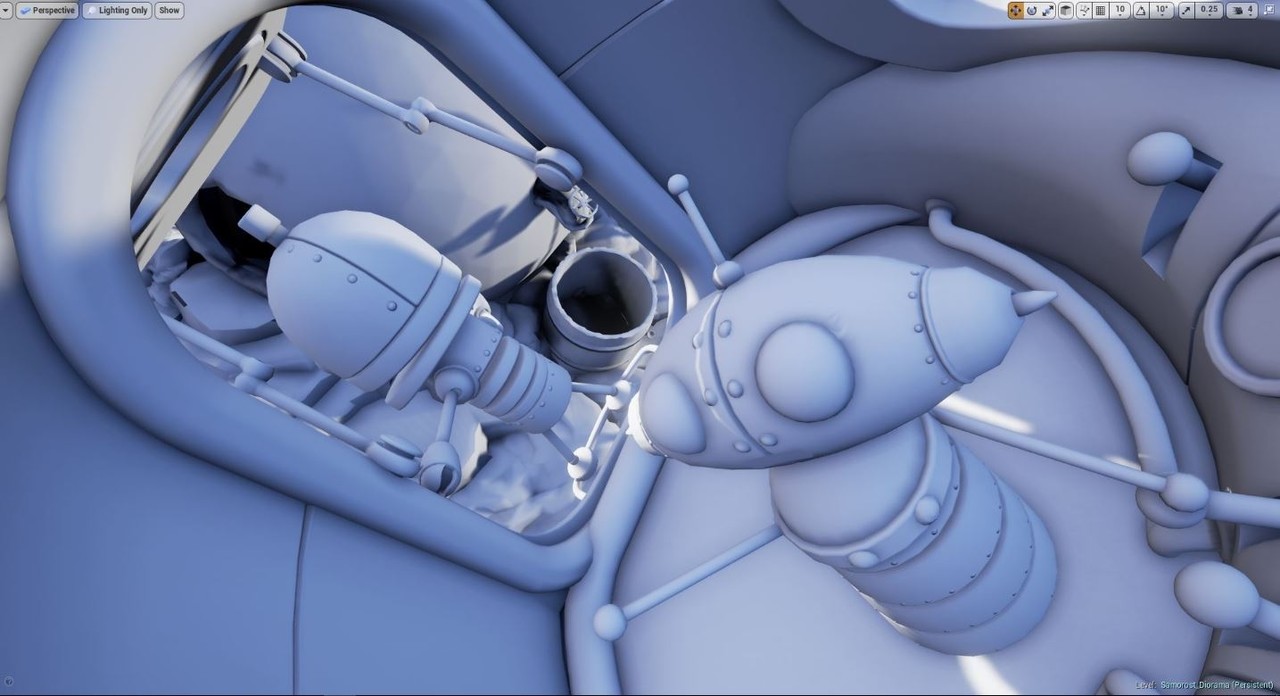
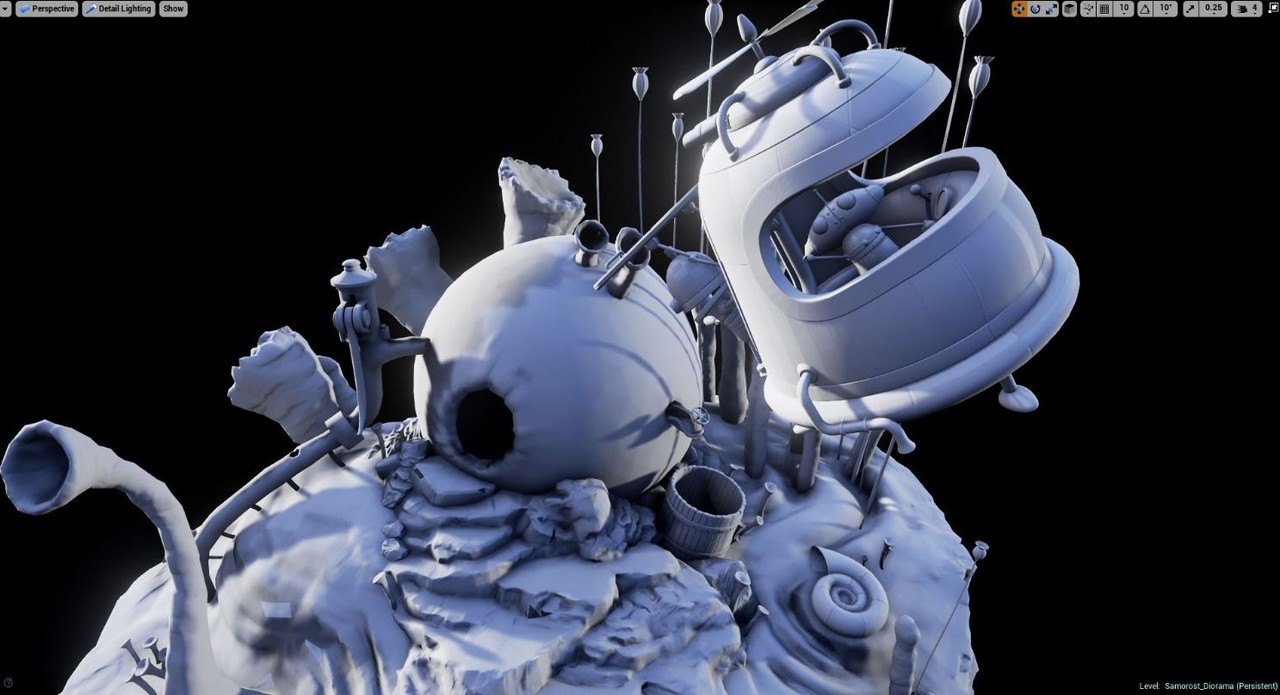
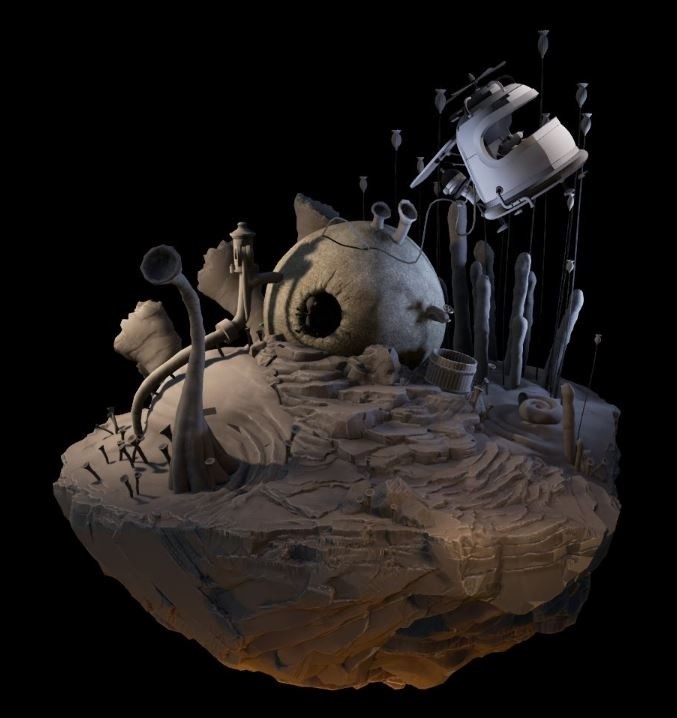
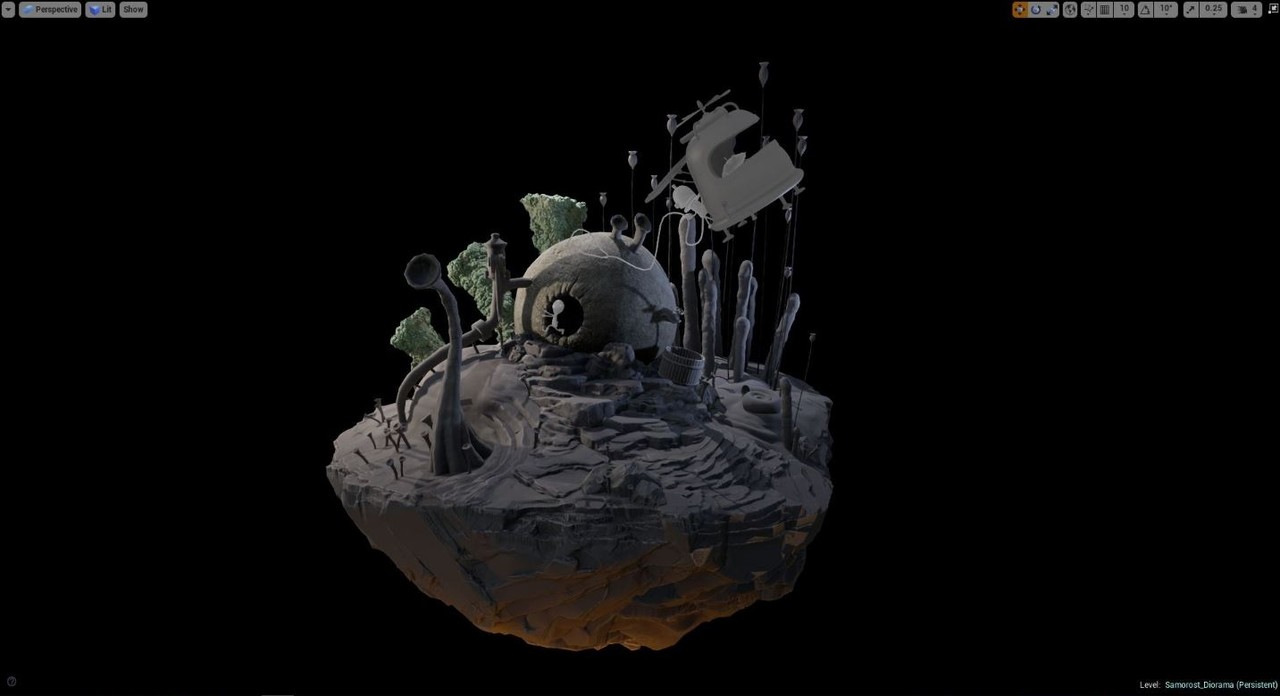
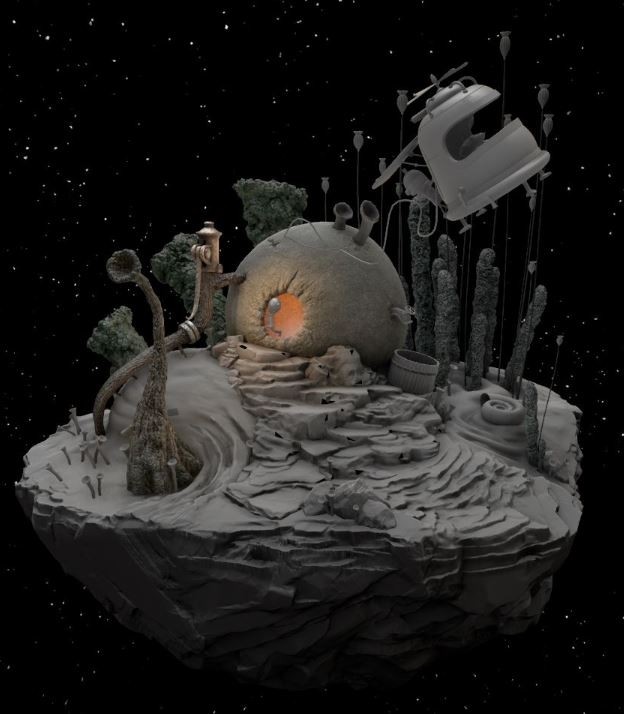
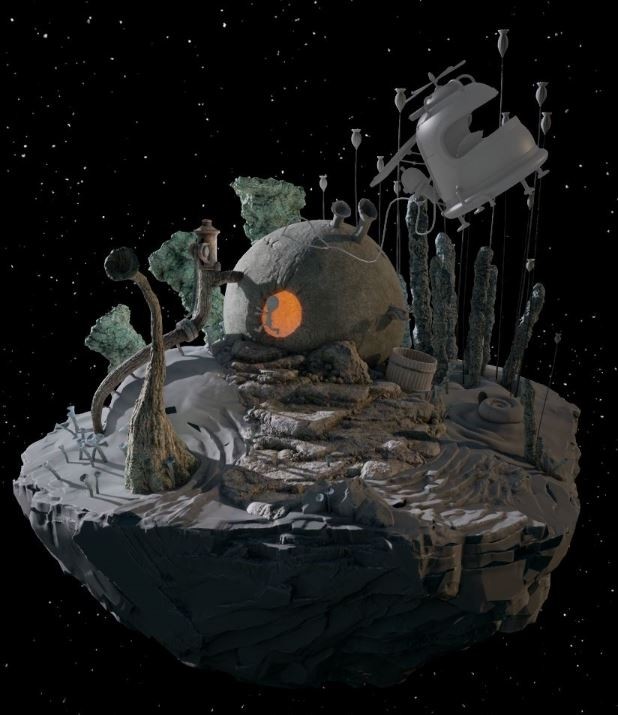
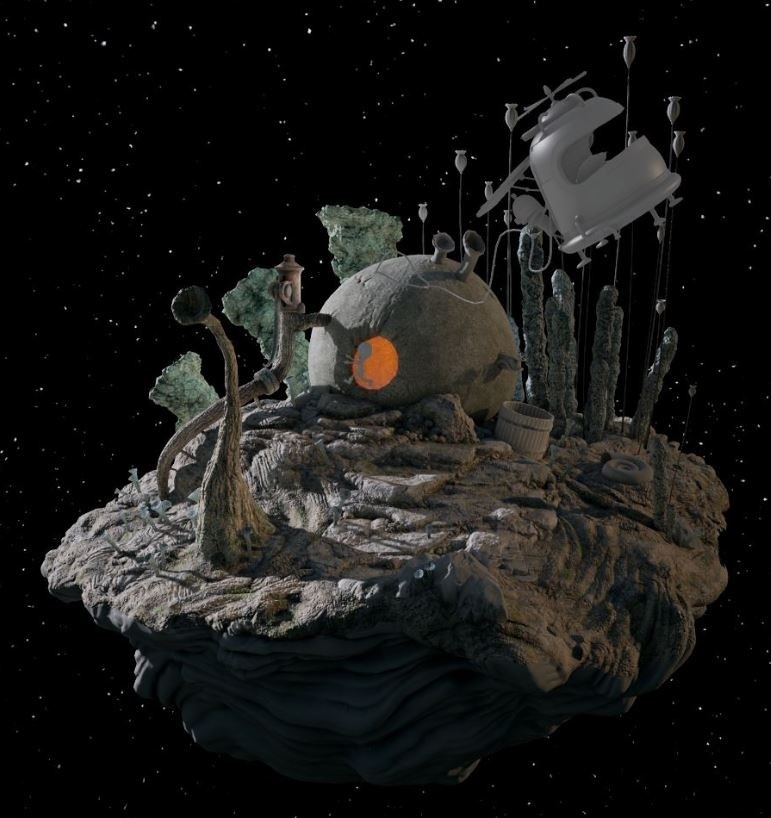
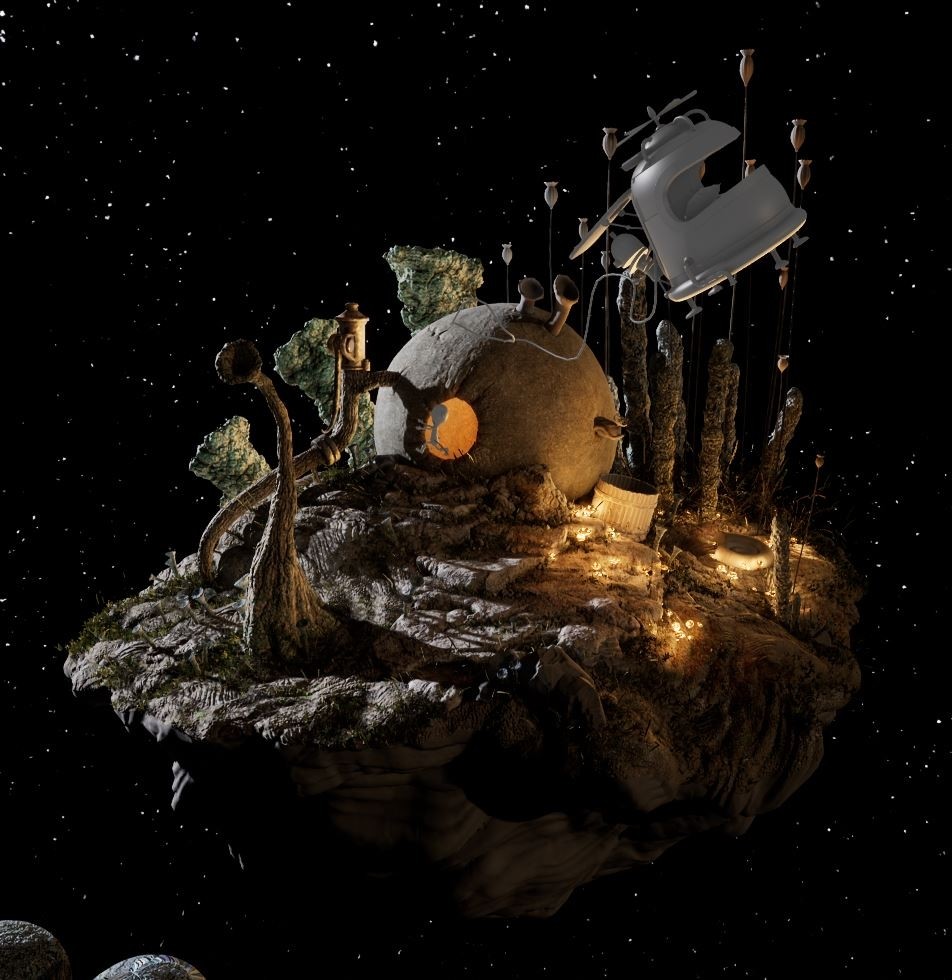
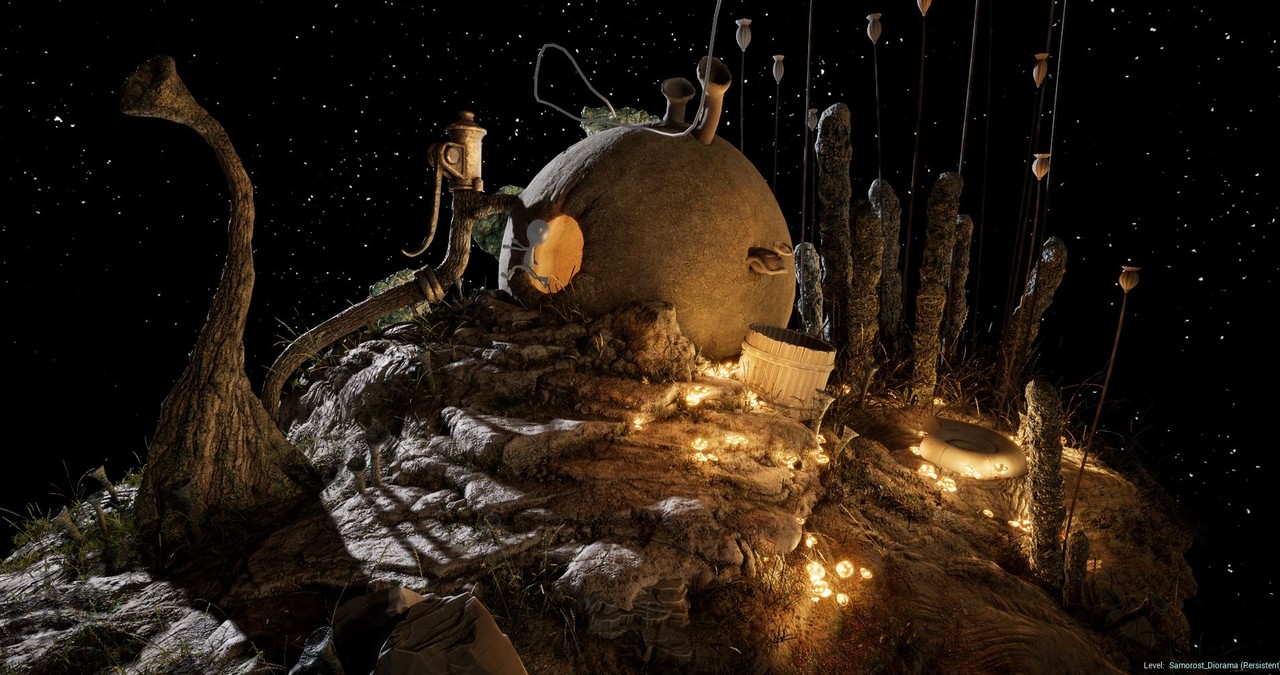
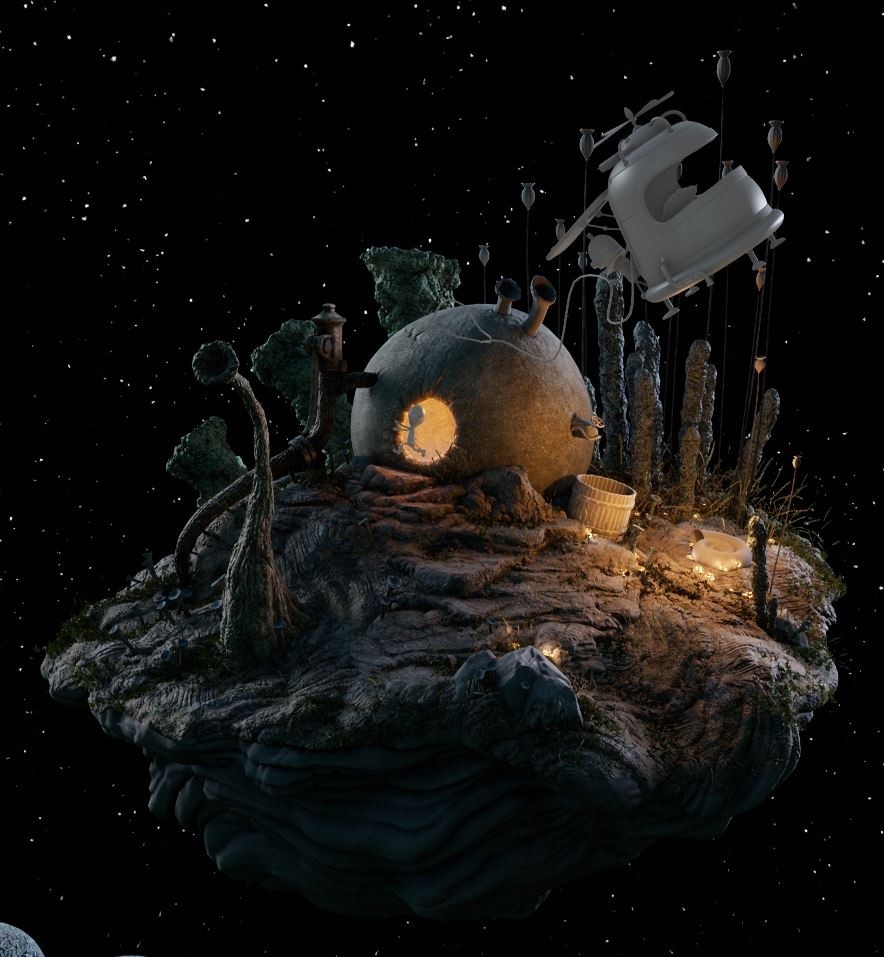
I started a small fan art piece quite some time ago (before art station blogs were even introduced) and I haven't worked on it for well over a year now, but I recently started back up again. I had been posting my progress on polycount, but I thought this blog would be a good place to update everyone as well. So this post will be a huge dump of the polycount thread + my latest update.

Hope you guys enjoy and please crit me!!! I am at a good point for feedback and would very much welcome it!

Post 1

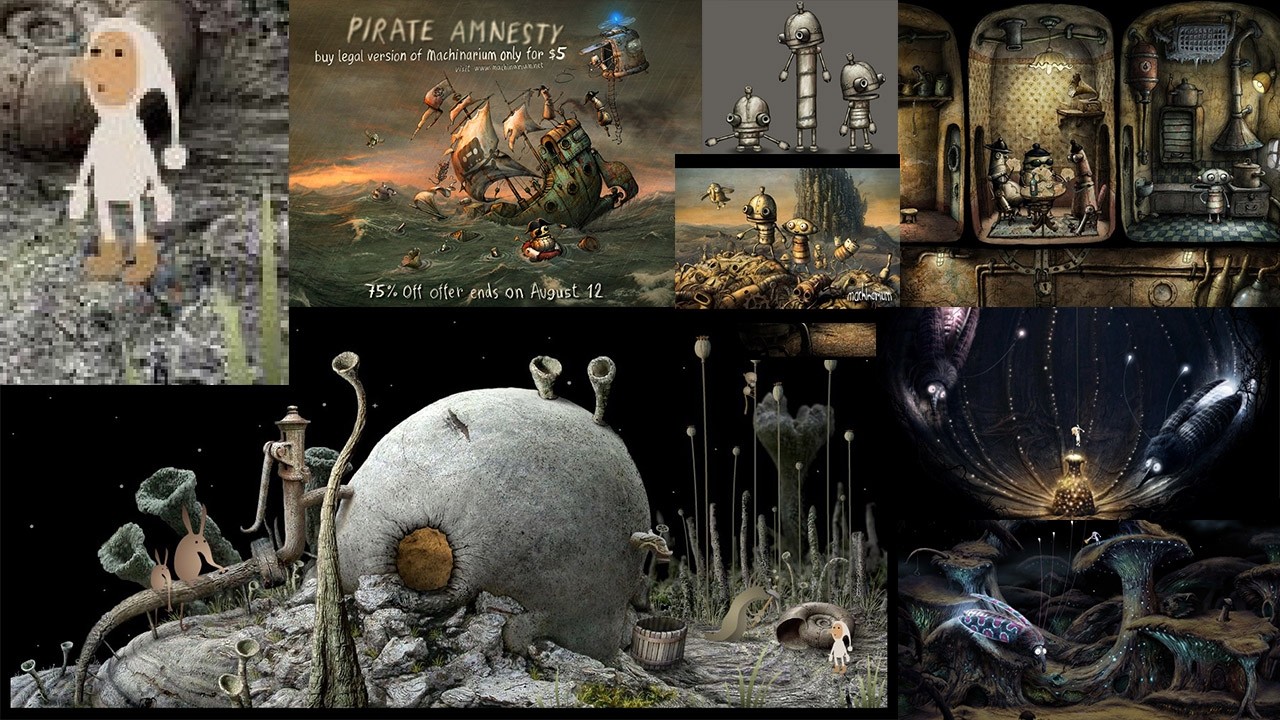
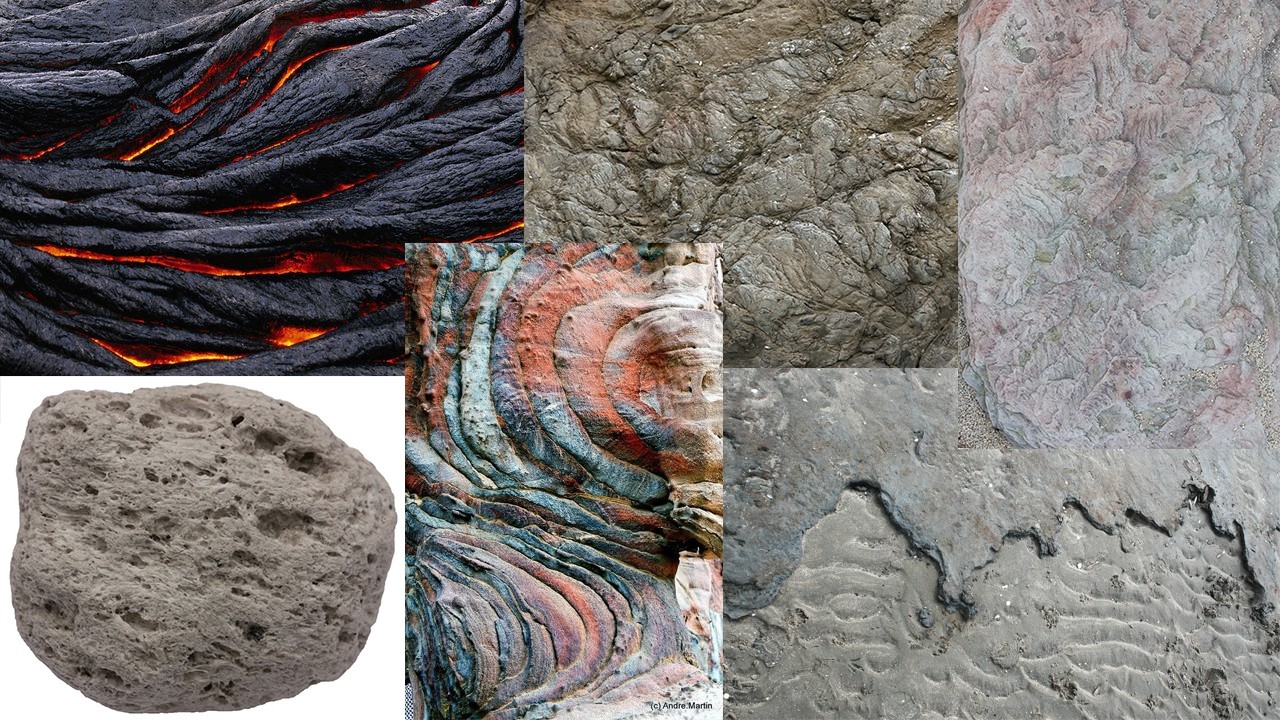
I started by collecting reference from the game and some materials I thought were nice. I trimmed this down as I collected a lot!


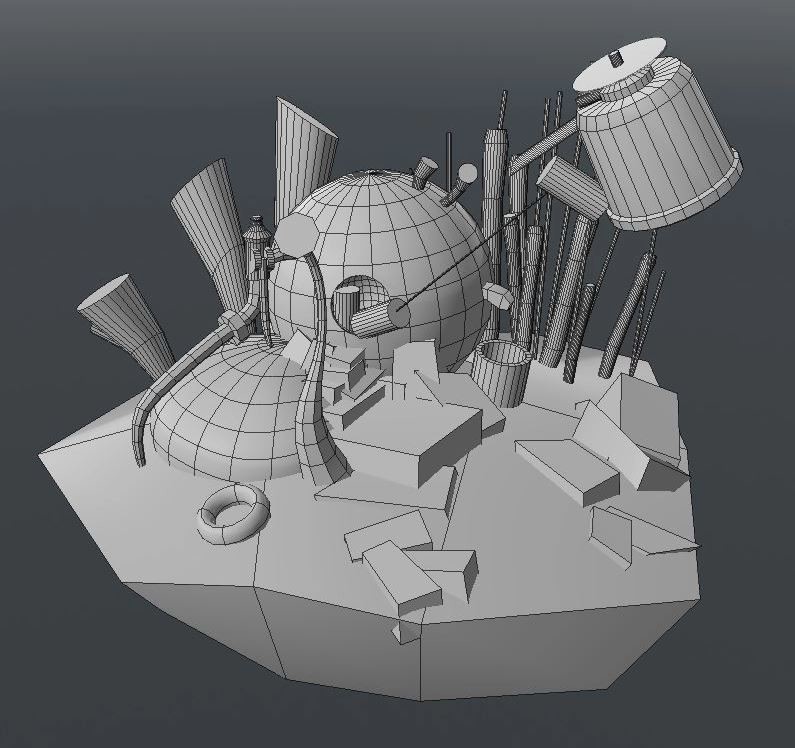
Then I jumped into modo for a quick blockout.


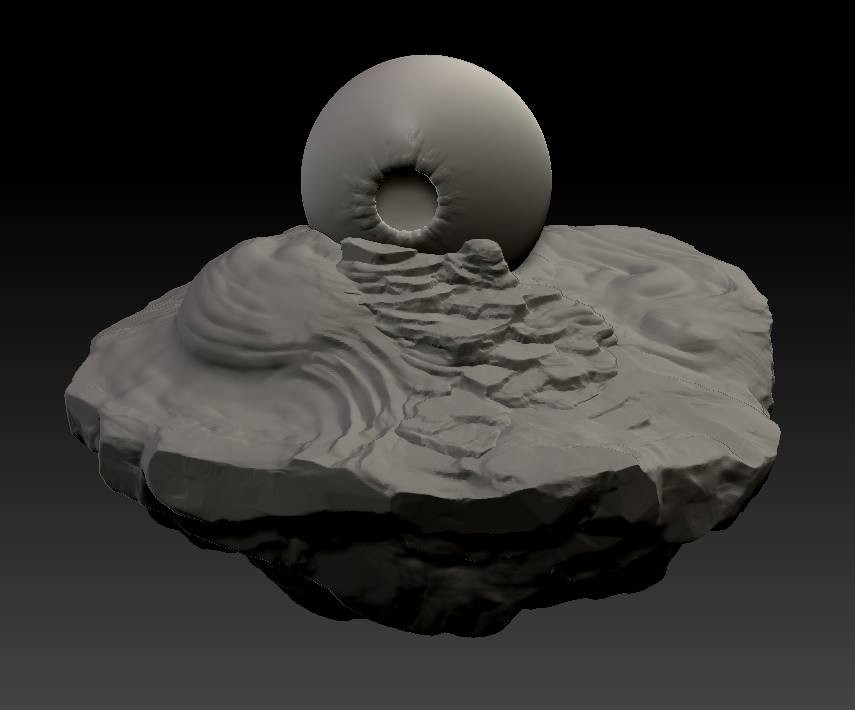
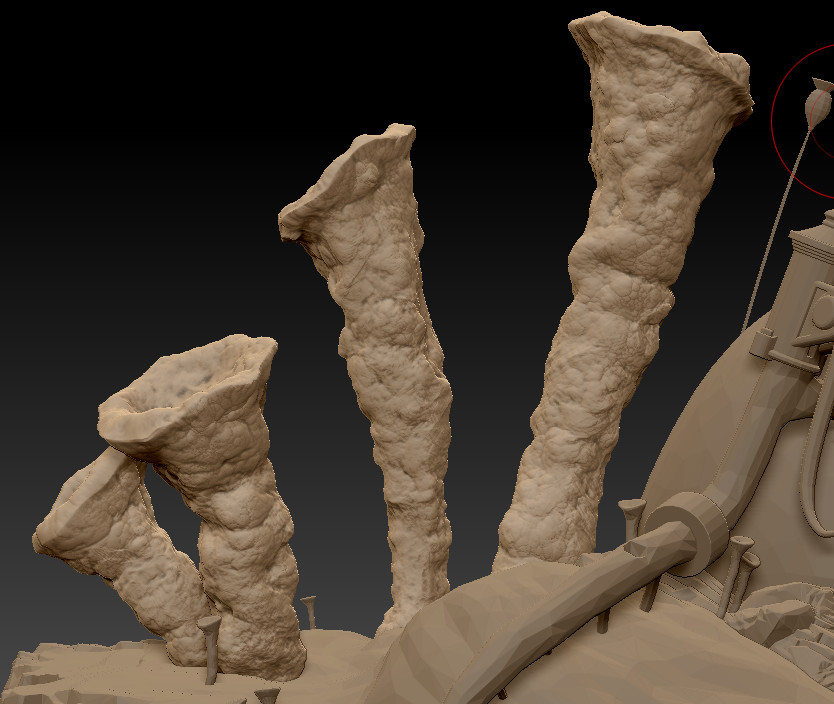
From here I went straight into zbrush and high poly's, starting to build out form. I didn't take many screenshots at the start but these are the ones I have. I went through and pretty much built everything to a rough state, decimating them down and throwing it all into unreal on auto unwraps.


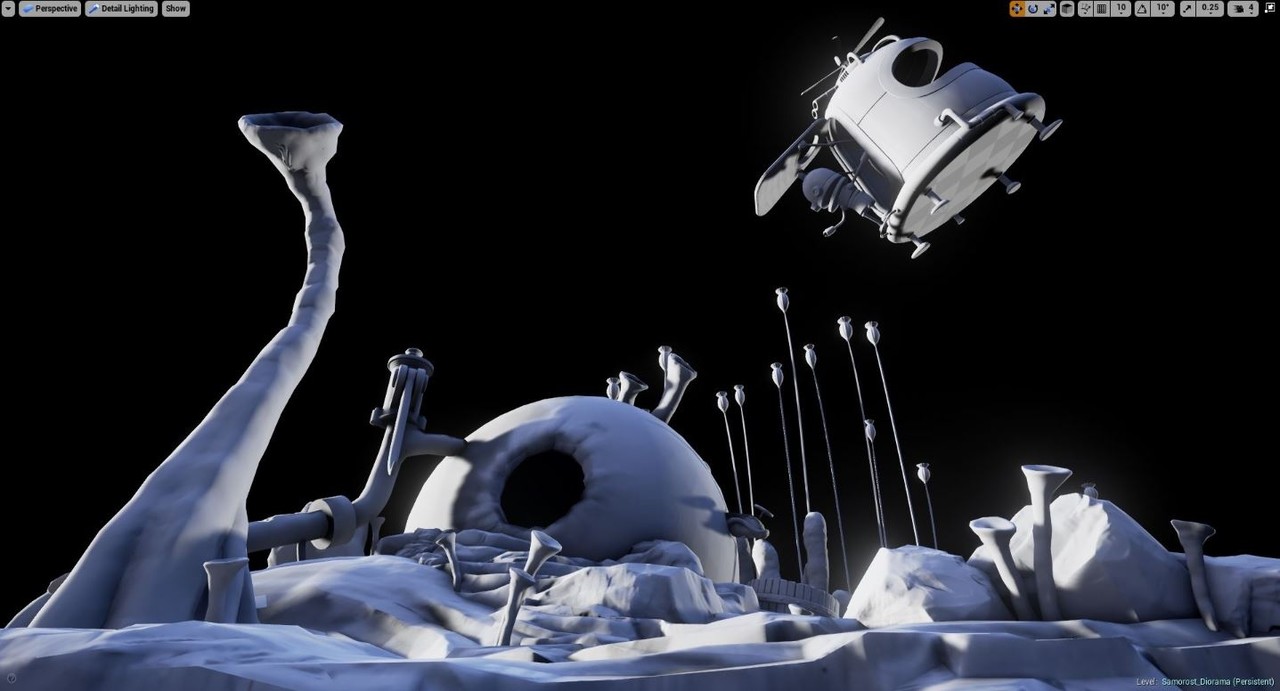
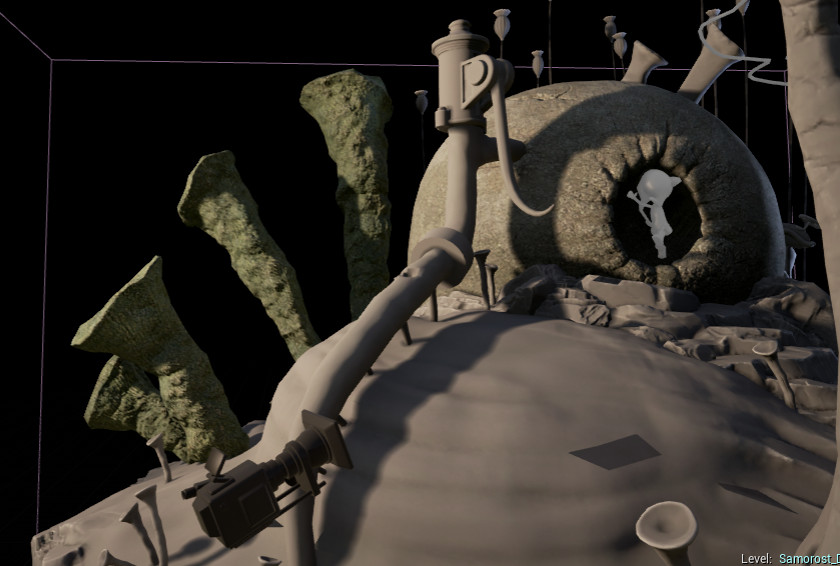
From here I started to explore some possible camera angels.


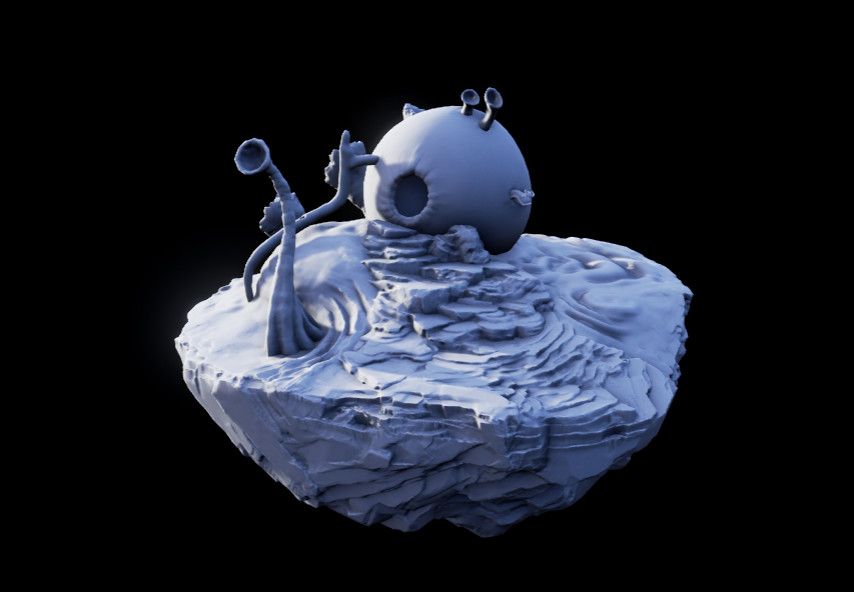
Now that I had a pretty good idea of what meshes I need, I started going back through them, finalizing the sculpt/ingame mesh and uv's. I also started looking at what I can do with lights. I still can make up my mind so you will see it change a lot =D I have been using a mix of substance source and my own substances so far.


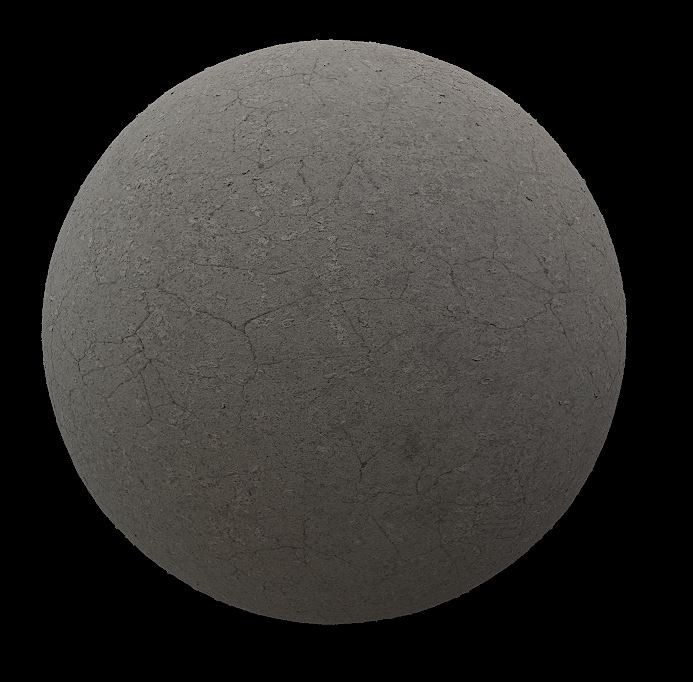
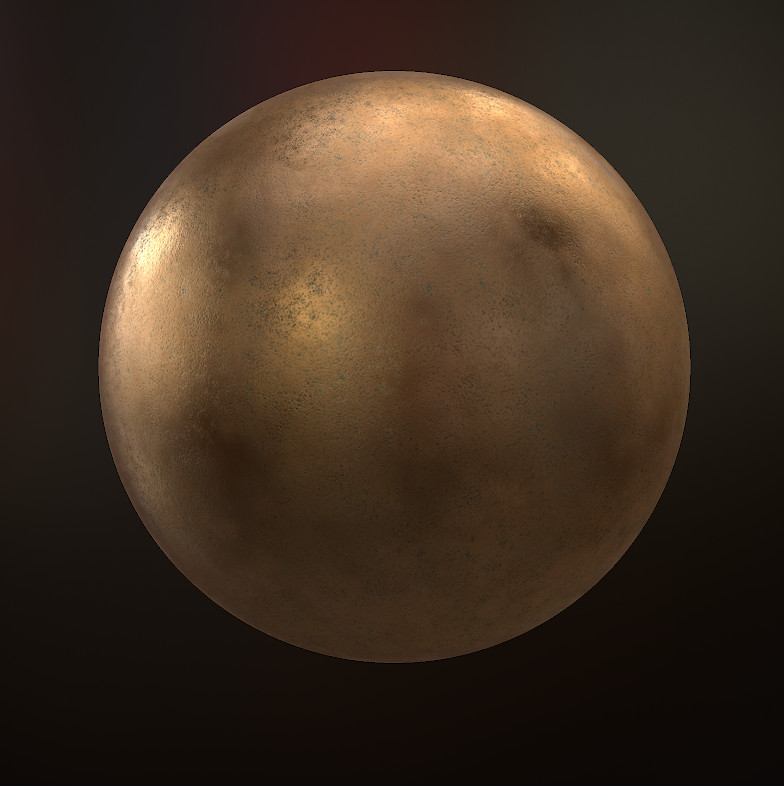
The egg shell was my first substance and was very simple


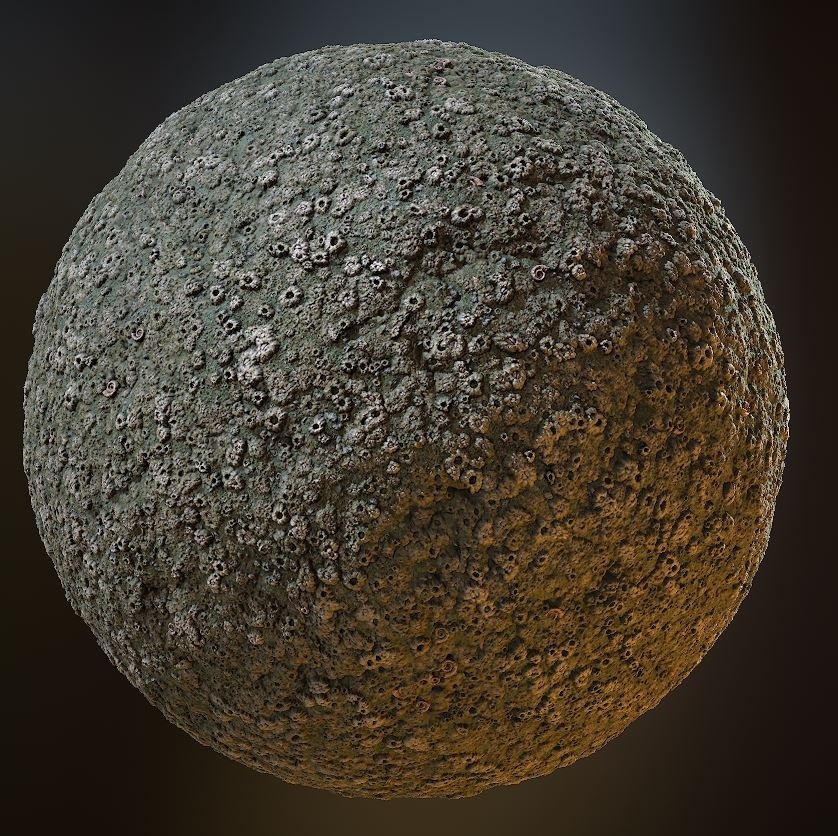
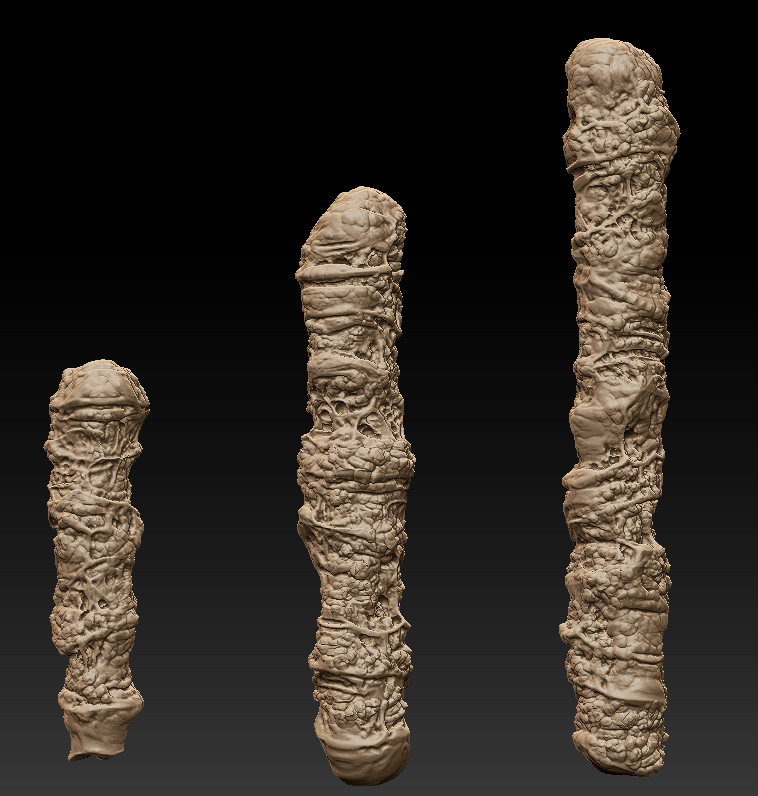
Then I created a barnacle/coral material to blend with all the flora elements.


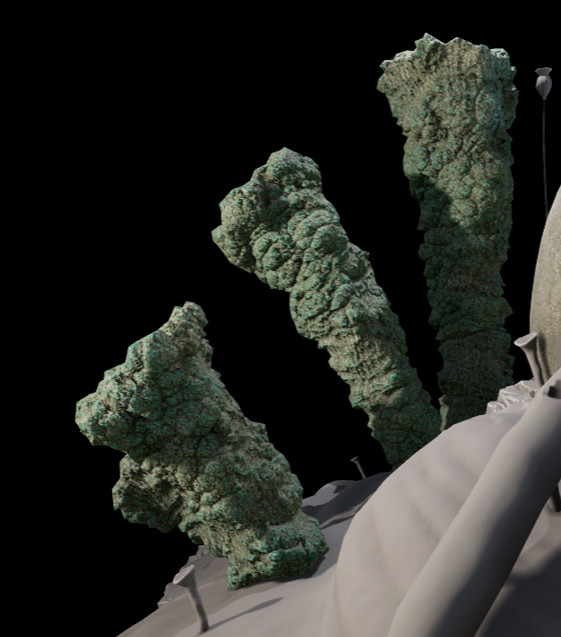
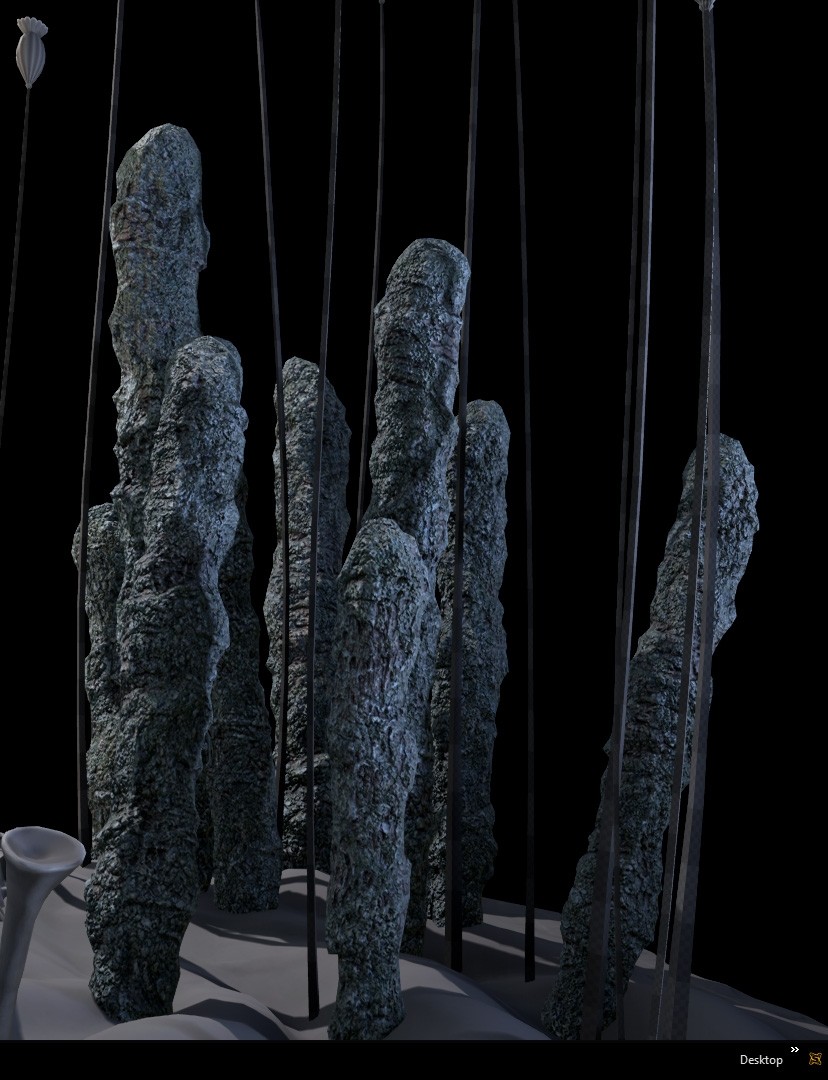
I had a bit of trouble with the larger coral flora at the back. My first attempt came out pretty weak.


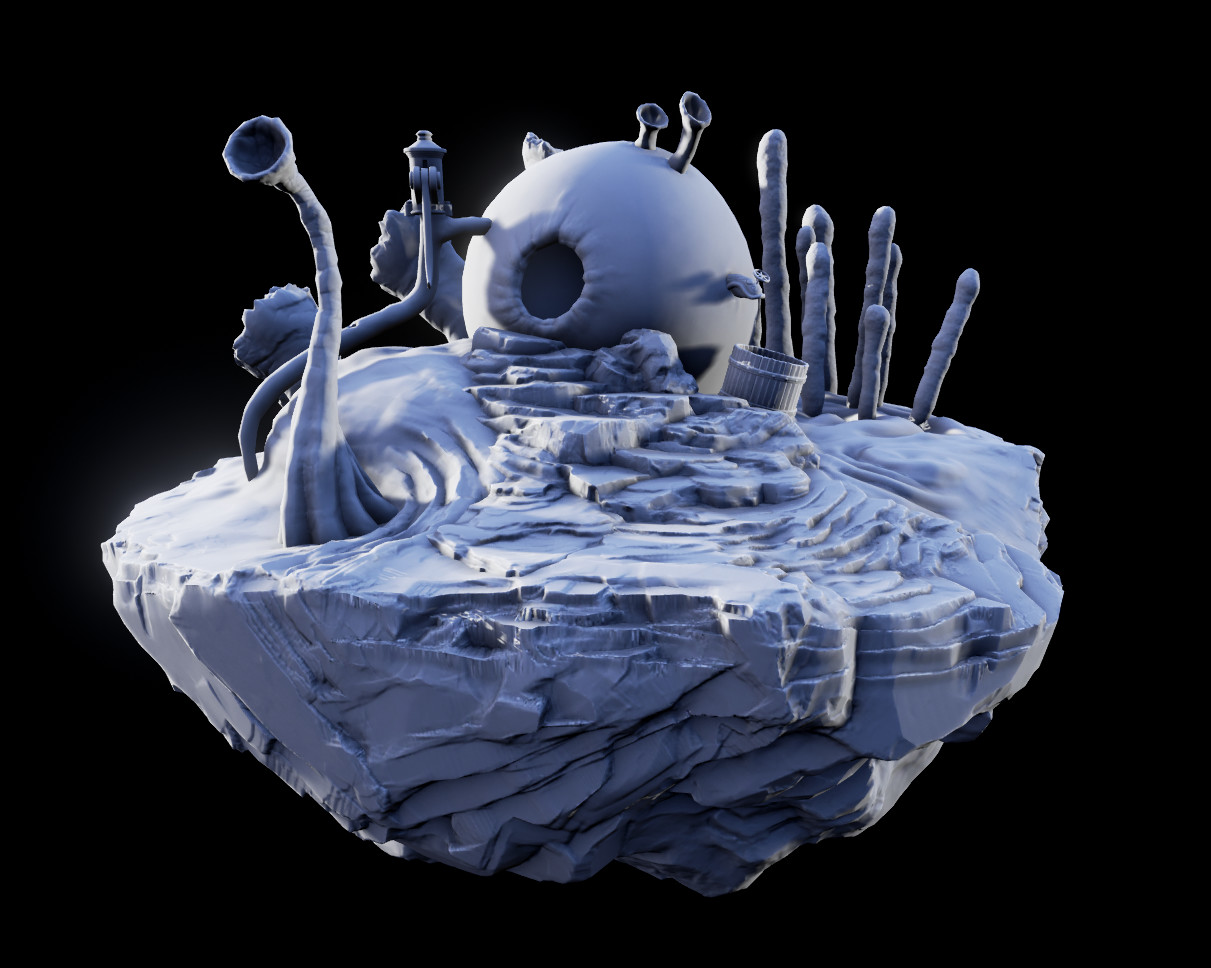
But I went back and re-did them entirely. This time setting up a 3 material layer blend which I plan to use on all the assets.


I went a little overboard on the other flora bits, not sure if I like it or not.


But all that detail got lost anyway!


Continuing progress.


This was the point I started my mentorship with Josh and have been working on these three materials since, bringing me up to where I am currently.


My plan going forward is to finalize these materials and start to resolve the ground. I have been going slow lately so want to try and get everything in with textures to have the full scene to look at. I feel lighting is my weakest area so any advice about how to light the scene would be greatly appreciated. 

Post 2

Thank you for the kind words guys! I did a pass on the albedo for the first ground material and added some more foliage bits around.
Post 3

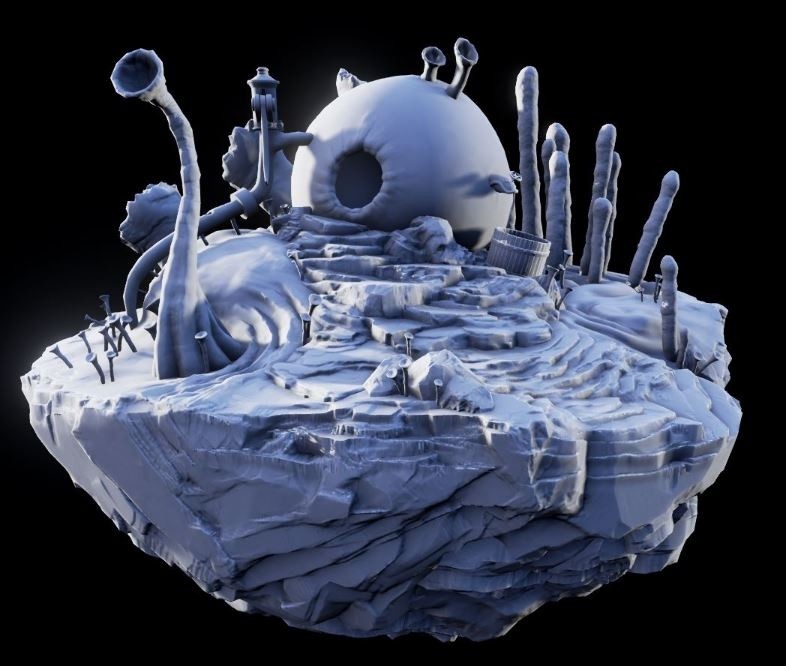
Hey all, its been a while as iv been super busy the last few weeks. But I found some time this weekend and made a start at addressing the ground. Touched up the sculpt and took it in a slightly different direction again, then put together the blend shader. Hoping to tie everything together with some foliage later but its a start for now!
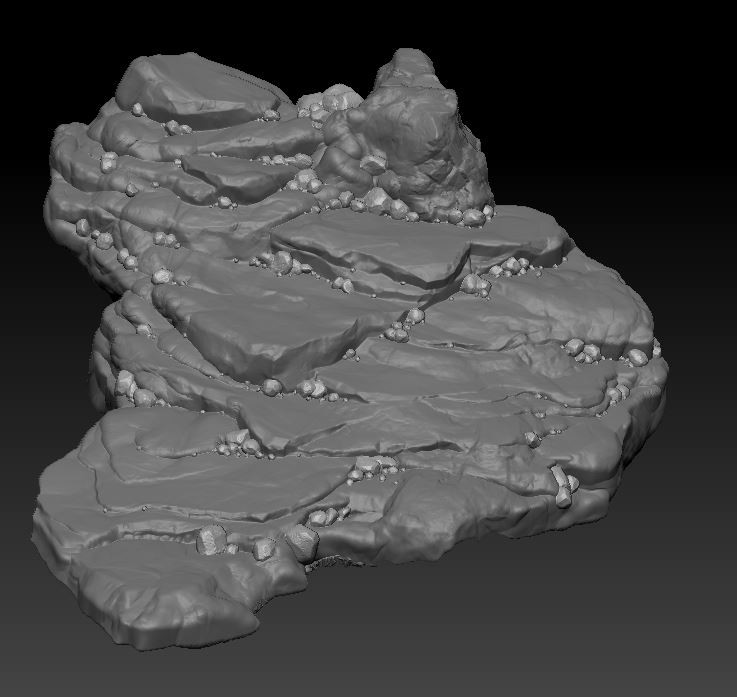
Here is the sculpt for the ground


another ground blend material


and the progress ingame so far.

Post 4

Thanks all! Again its been a while, iv been a bit lazy recently but you were right @DInusty! I spent most of the day working on this again.
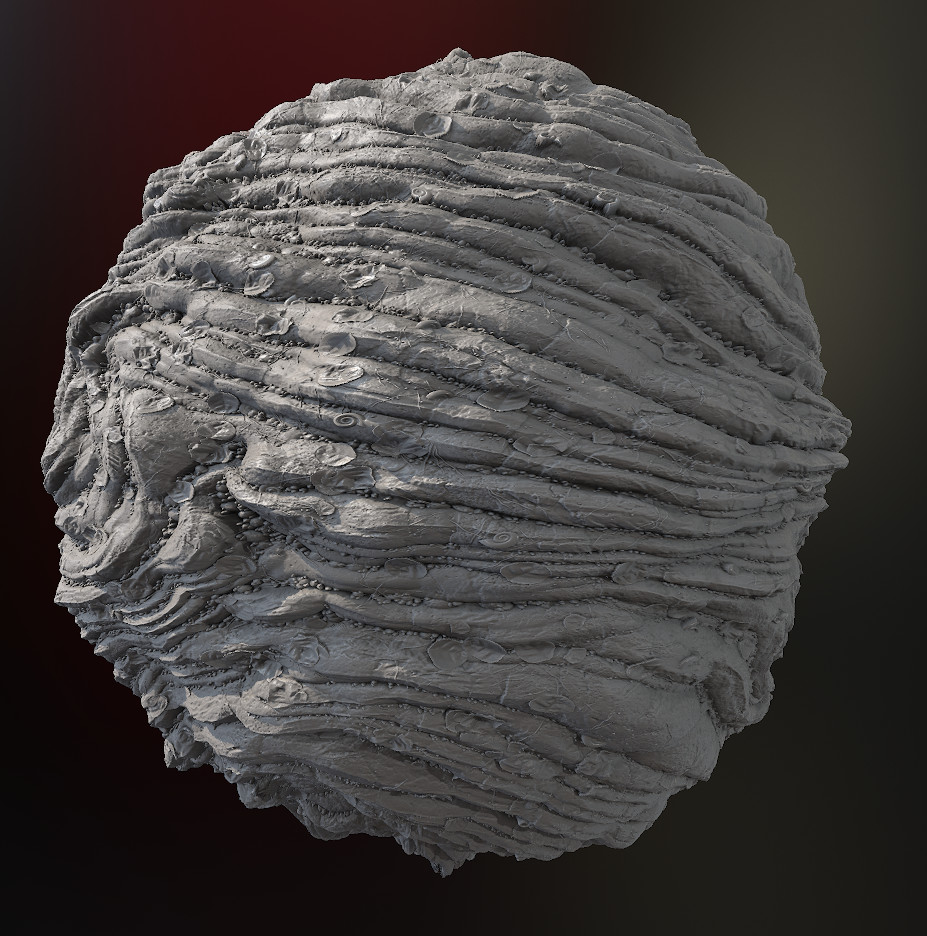
@Sirdelita I actually ended up making some alpha's from the warped rock substance material, that really helped tie the sculpt and texture together.

I implemented a bit of feedback iv had so far, darkening the ground a little and trying out some emissive mushrooms. I was trying to get them to light from the emissive channel itself and I think I may have gone a little overboard in the process. What do you all think? It might be better to try to light them manually instead. I also tried out the new megascan grasses, mushrooms. They seem really nice and really helped me speed up foliage part of this.

It was suggested to try a very soft lighting setup too but im totally unsure about the best way of doing this? Any suggestions would be great!

  
Post 5

A small lighting update tonight!

Post 6

Well.... Its been well over a year since I last worked on this, but I havent forgotten and I am back to it. I don't really have a good excuse for you, so instead some updates!

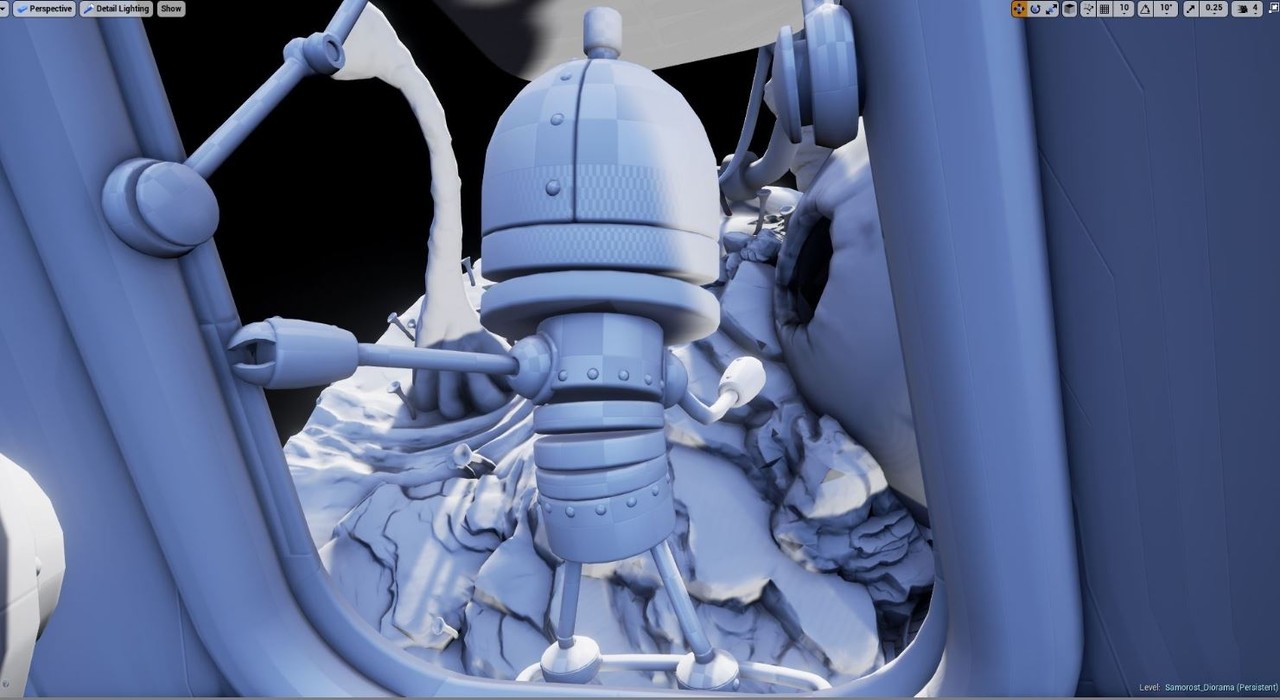
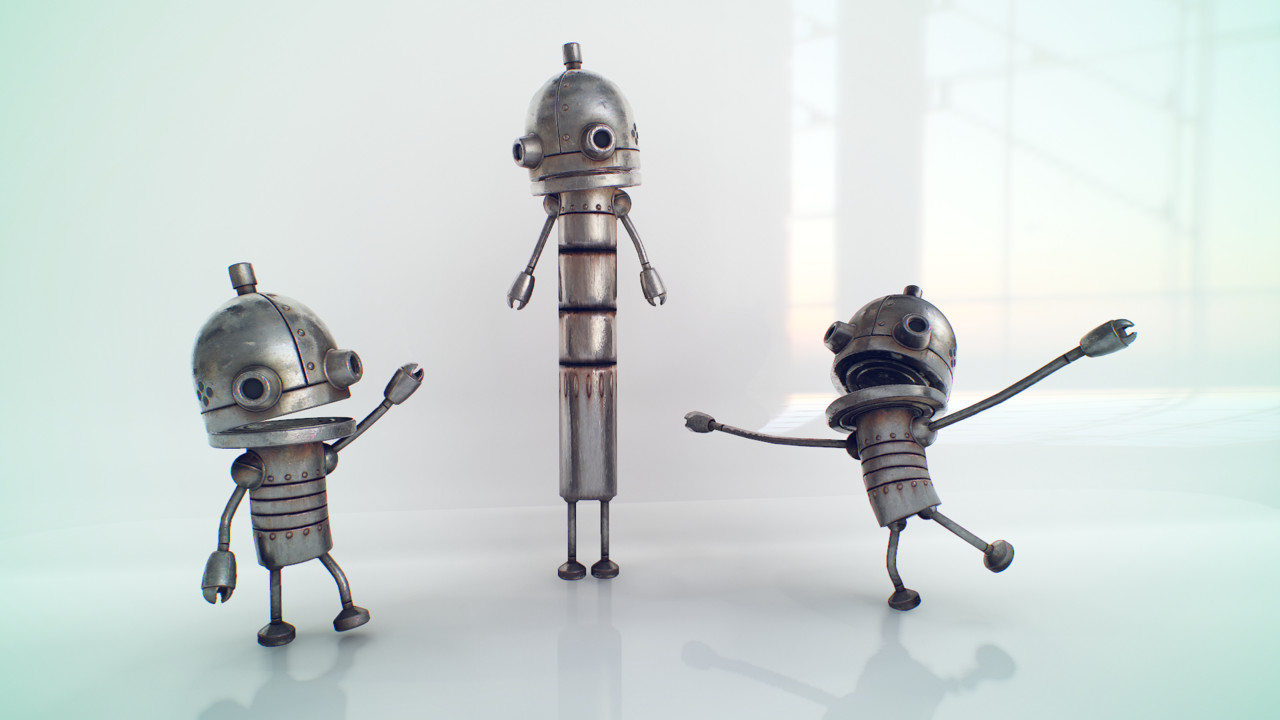
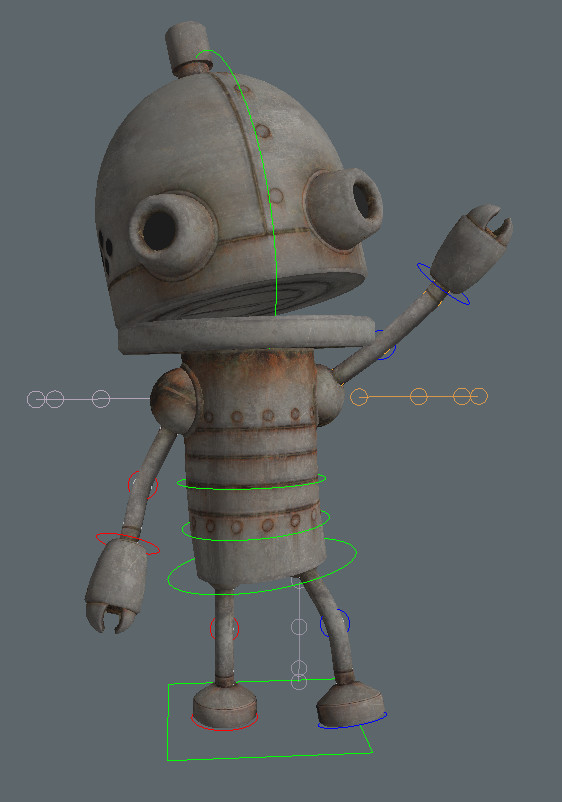
I set up a simple rig and first pass textures for one of the characters.


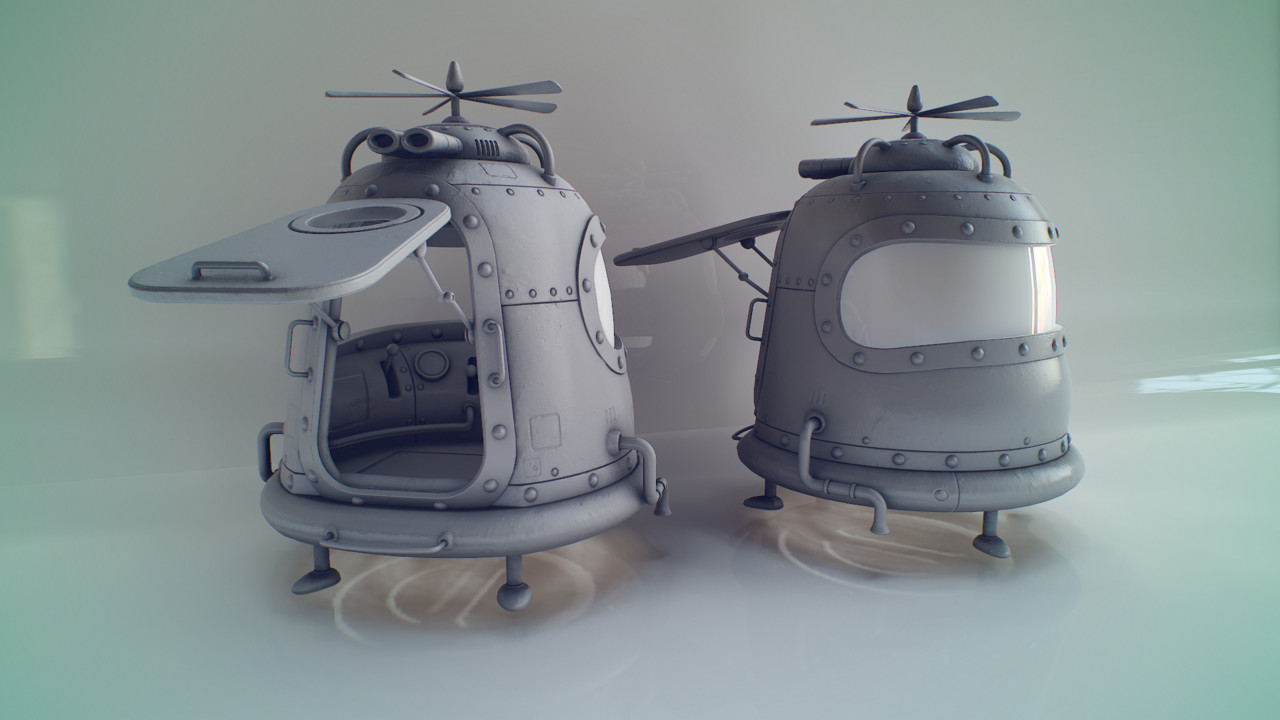
I plan to get all of the characters rigged, posed and with clean bakes, so I can work on all the textures together. Speaking of which, I also have finished the bake for the helicopter.


Thanks for the awesome feedback too! I will be looking to address that after all the art is in.


GDC and a Height Blending Update

General / 02 April 2018

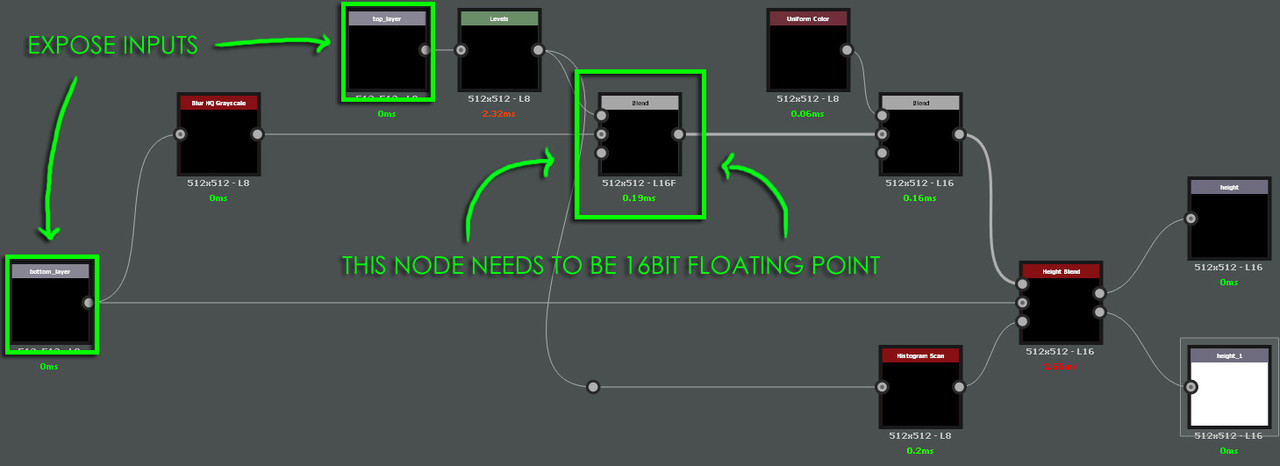
Hi everyone! The awesome folks at Allegorithmic gave me the chance to talk at GDC with them. It was quite the ride but a lot of fun, I can't tell you how humbling it was to go and stand among the kings that are Daniel, Josh, Tommy, Steve and of course the Substance developers. It turns out I made a few blunders in my live demo of the height blending node, so this post is in part to address that and in part to provide a public forum should anyone have questions about the talk. So spread the word of this update if you cant get the height blending node to work! There is also a bit of ramblings about my experience if your interested.


You can watch the talk here


TLDR: I missed a key step in my gdc presentation demo, the image below is everything you need to know.


Ramblings!!

I think I can comfortably say this was one of the greatest but also hardest trips I have been on. I very nearly didn't make it to San Francisco (a number of times) and eventually had to cut it short. Unfortunately the week before, I came down with the flu and some 10 hours before I was due to fly it had developed into an ear infection. This ended in taking a trip to the hospital and canceling my flights =( To say Allegorithmic and Machinegames were supportive would be a gross understatement. Considering how stressful it is to organize something like substance days, let alone at GDC, my last minute cancellation must have been awful. Alexis Khouri from Allegorithmic was incredible and I owe him a lot! He not only offered me new flights but also worked throughout the night to find an alternative way for me to deliver the talk in the event I could not make it. I was diagnosed with Acute Otitis in both ears and if you have any experience of flying with ear infections, you know its not pretty. The doctor was amazing though and prescribed me all I would need to be able to fly the next day. Between late taxi's, side effects and some VERY secure airport security, I did eventually make it to San Francisco. The plane journeys sure were uncomfortable, but thankfully there was no pain!


Meeting the folks from ILM, Allorgithmic, Daniel and Josh was incredible and definitely the highlight for me. I really enjoyed presenting the talk and being able to represent all the talent at Machinegames was a true honor. Seeing a room packed full of people excited to see something you have poured your soul into is a feeling I can't describe. Thank you all who came to see the talk, I hope you enjoyed it! I did make a few mistakes, but aside from the ones above, the rest will stay with me ;) I can only apologize for the questions at the end though. Between the terrible echo from that side of the room and my stuffy blocked ears, I just couldn't hear people properly. Sorry! I hope I managed to answer your questions correctly.


Come Wednesday, I was out. I think all the medication, jet lag and adrenaline just caught up with me. I ended up staying in the hotel the entire day resting. The following days were not much better either and by Friday I booked an early flight home. Annoyingly, after purchasing my tickets the re-seller made some fraudulent claims on my card meaning I had to block it. This meant the only money I had access to was the cash I had on me! So official warning, stay away from priceline.com. Luckily Josh Lynch saved the day, ordering my taxi and offering to fund anything should I need it. Lessons learnt, take more than one card with you!


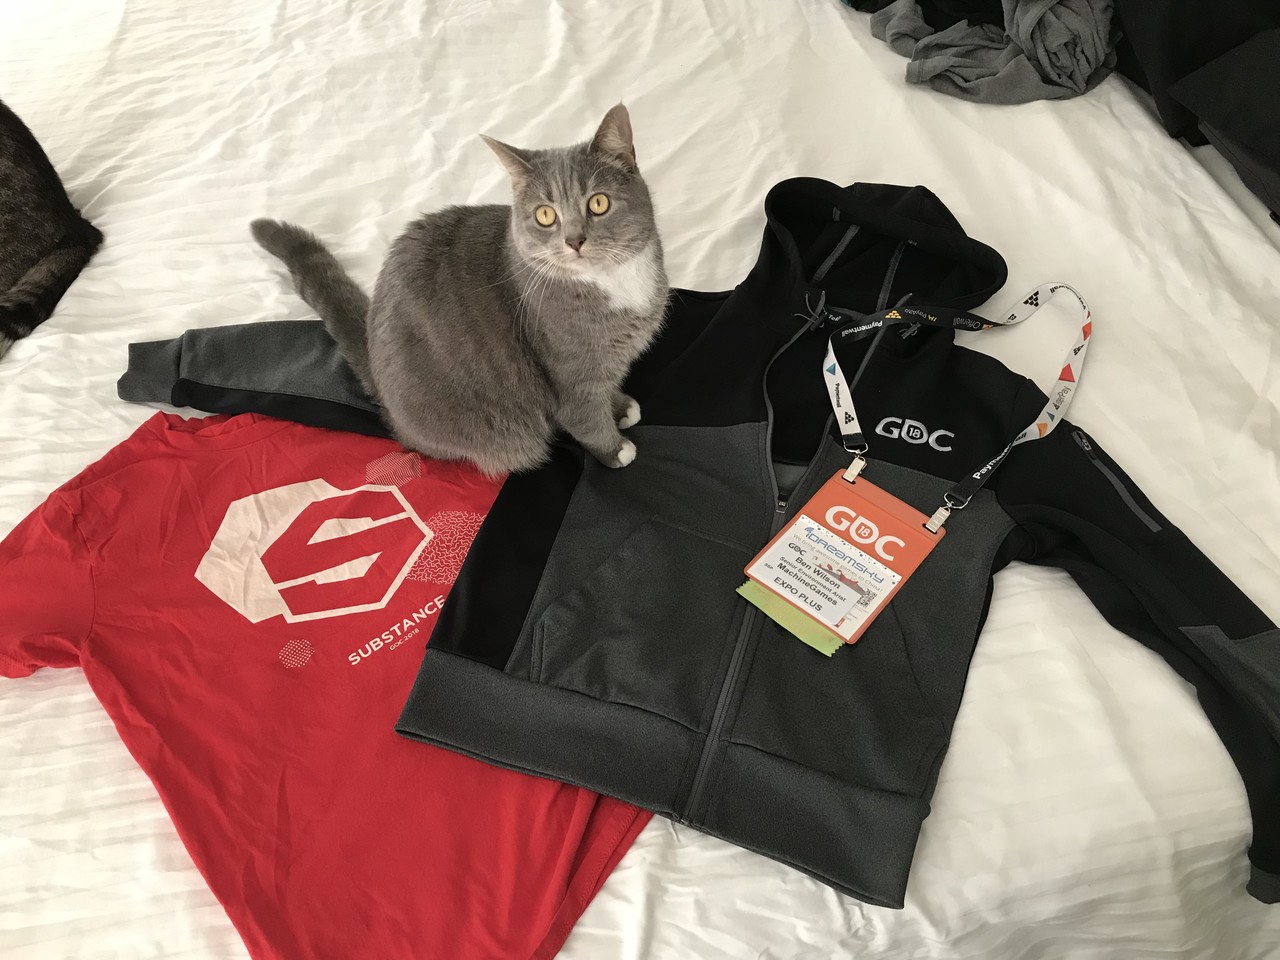
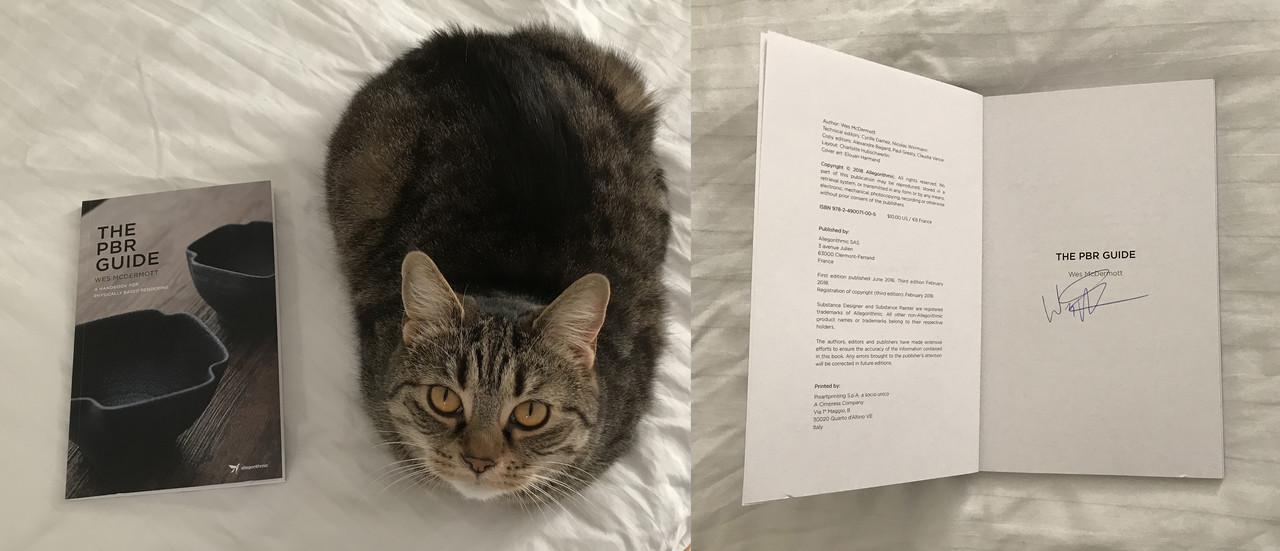
Regardless, I did manage to pick up a nice shirt and hoody (and some random cats). I even got a signed copy of Wes's new PBR Guide! How cool is that?!


This was a roller coaster for me, but despite being a bit under the weather, was one of the best experiences of my career. Everyone bent over backwards to help me, especially Alexis Khouri and Josh Lynch, so thank you guys, I am sorry to have missed most of the event and not get to meet everyone, but I am grateful to have been part of it.

Hey First Blog - Lets talk stones

General / 30 January 2018
Woo first blog post, heres what I'm working on.
I have been trying to solve scattering stones that do not clip into each other and been developing a node to hopefully handle this. It at a stage now to show, so here is my progress so far. It's designed to layer with itself, building up to more and more complex forms and below are some of the settings available on the node.
Lots of images ahead so get ready to dig in!


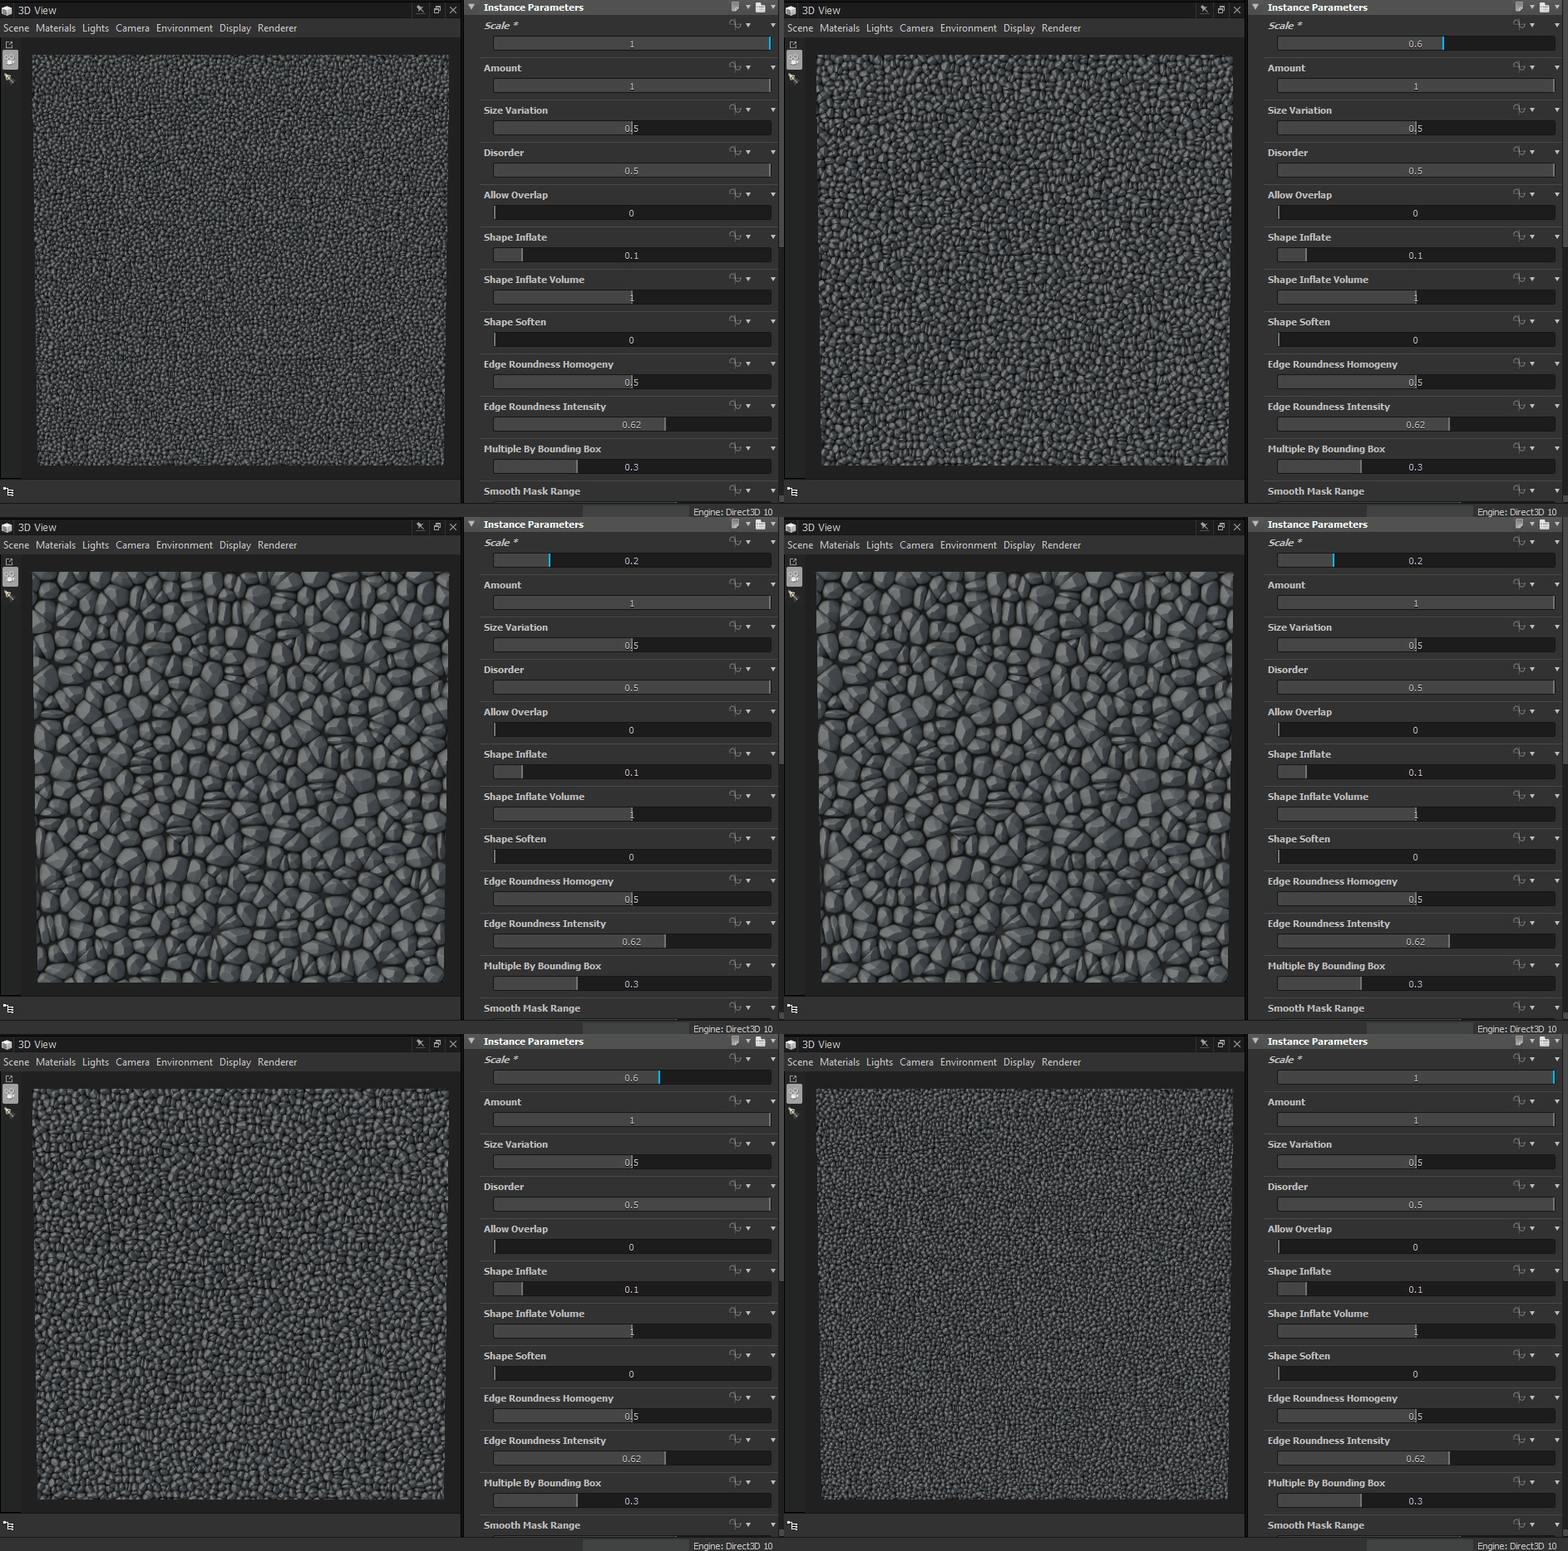
Lets start with a simple scaling control:


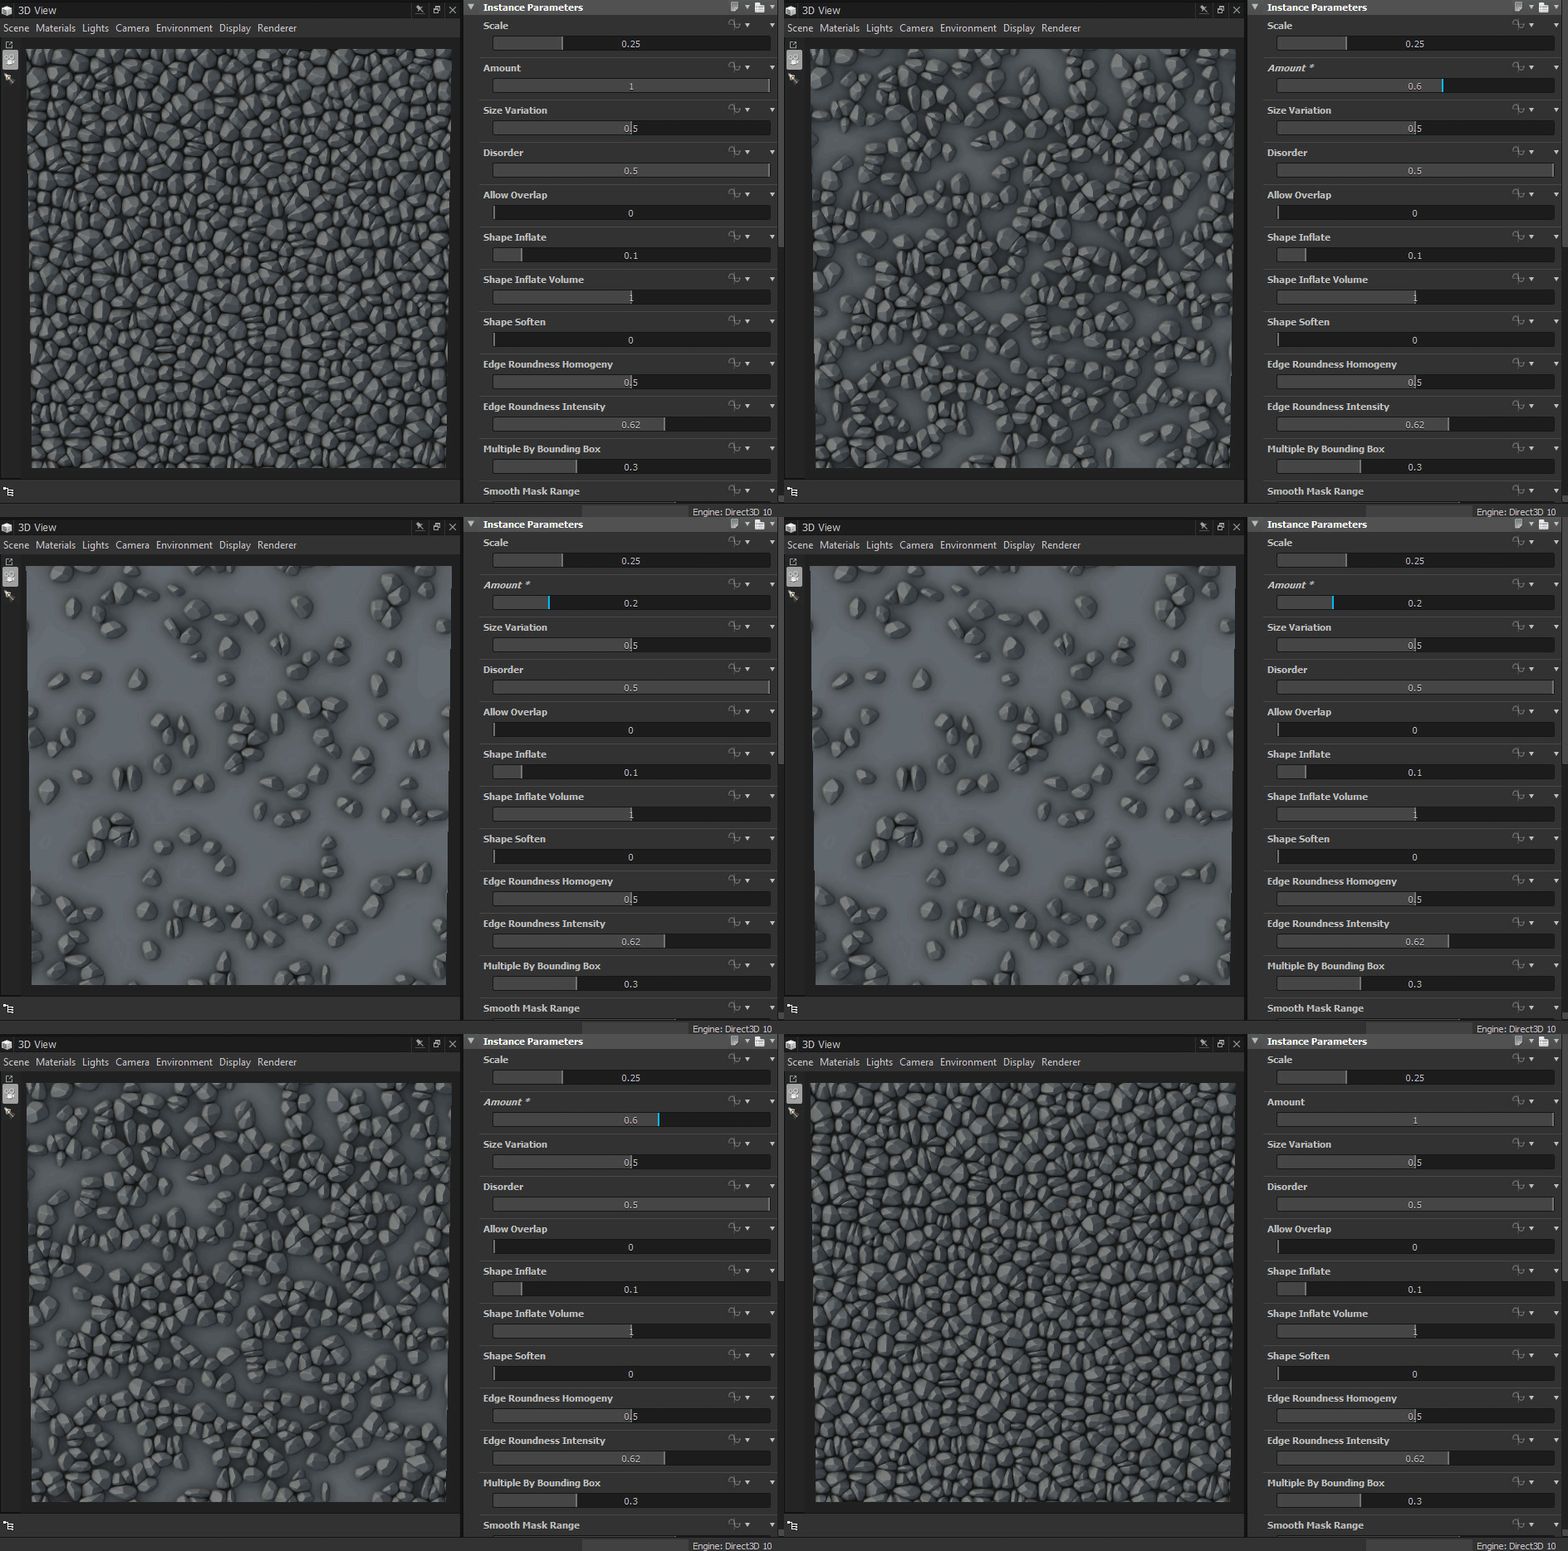
As well as how many:


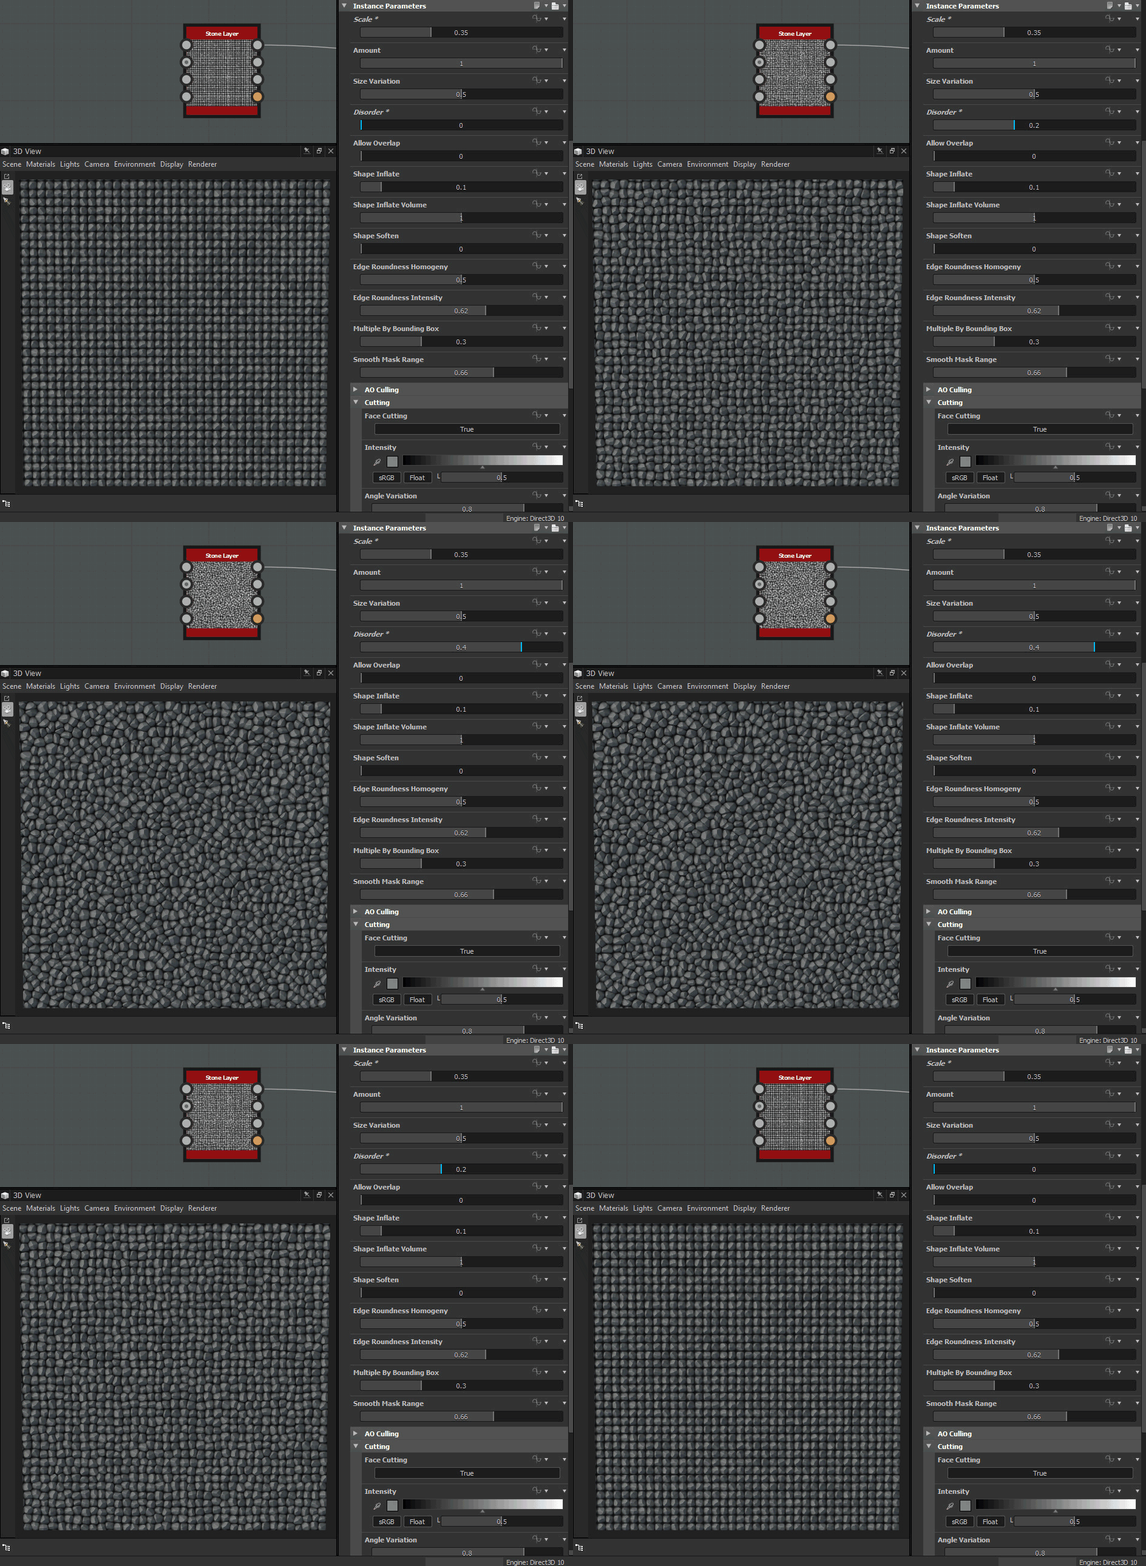
You can vary how ordered the stones are:


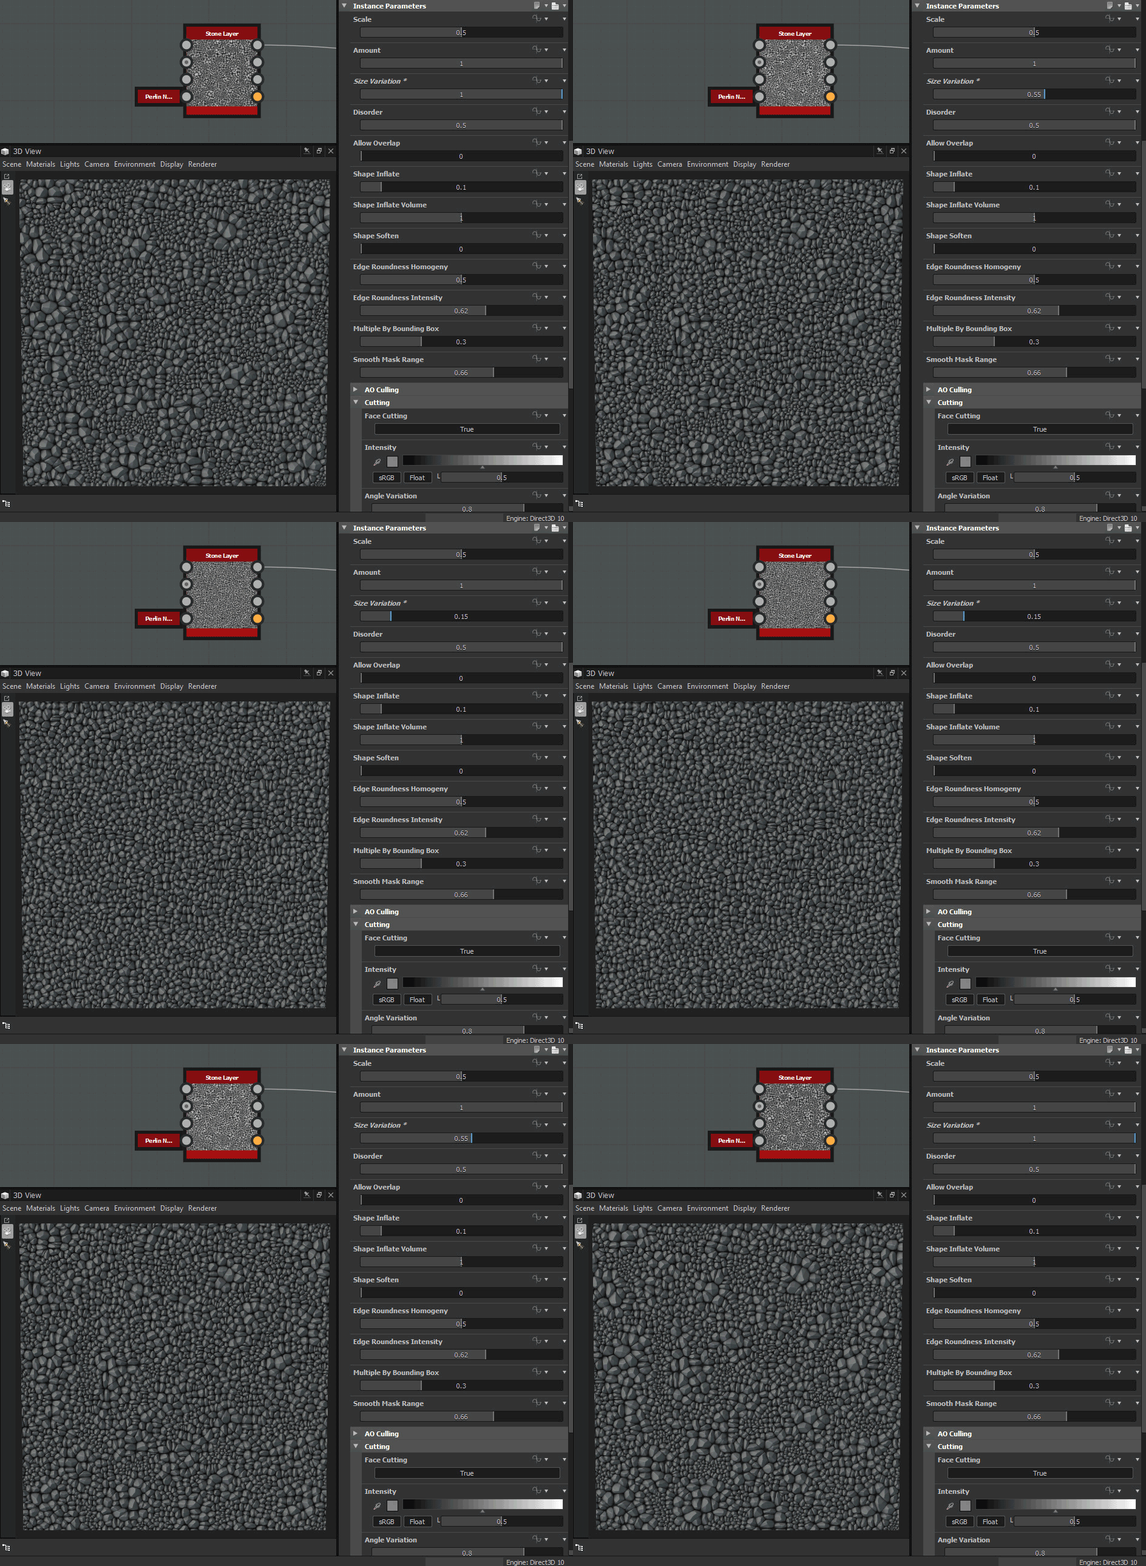
But you can also plug in a noise to control the shapes:


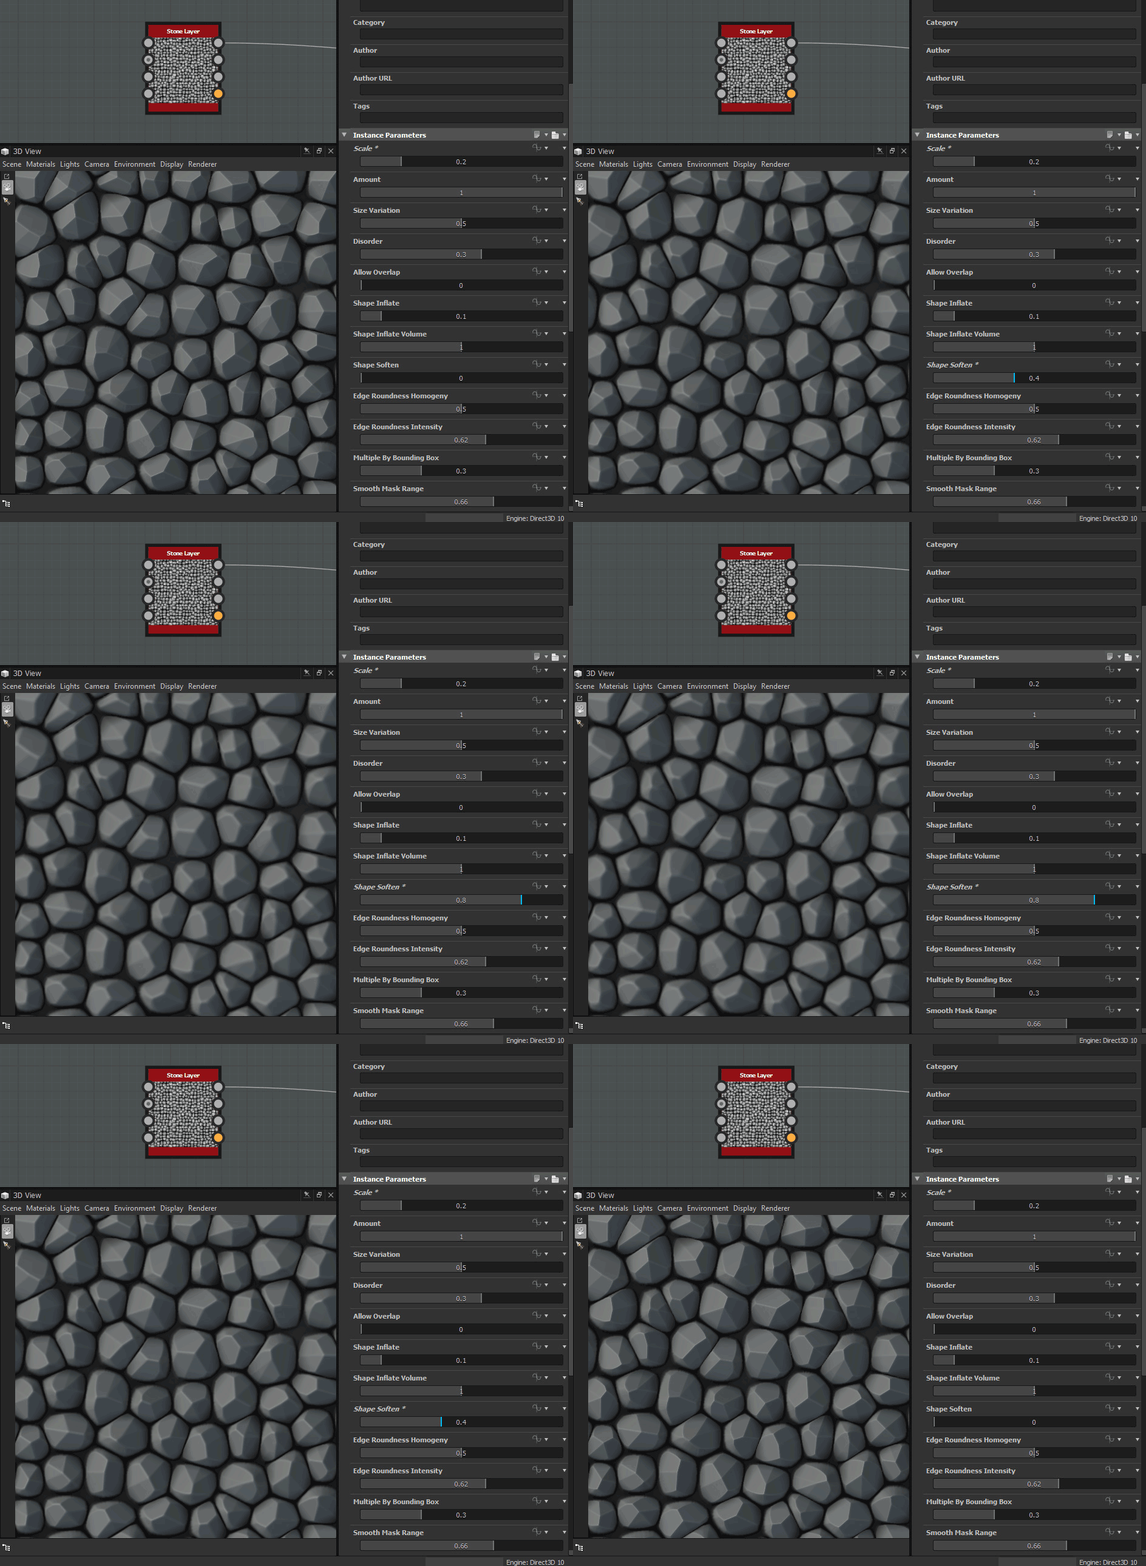
Now lets look at shape controls for the rocks, lets make them sharper with an inflate:


Or soft:


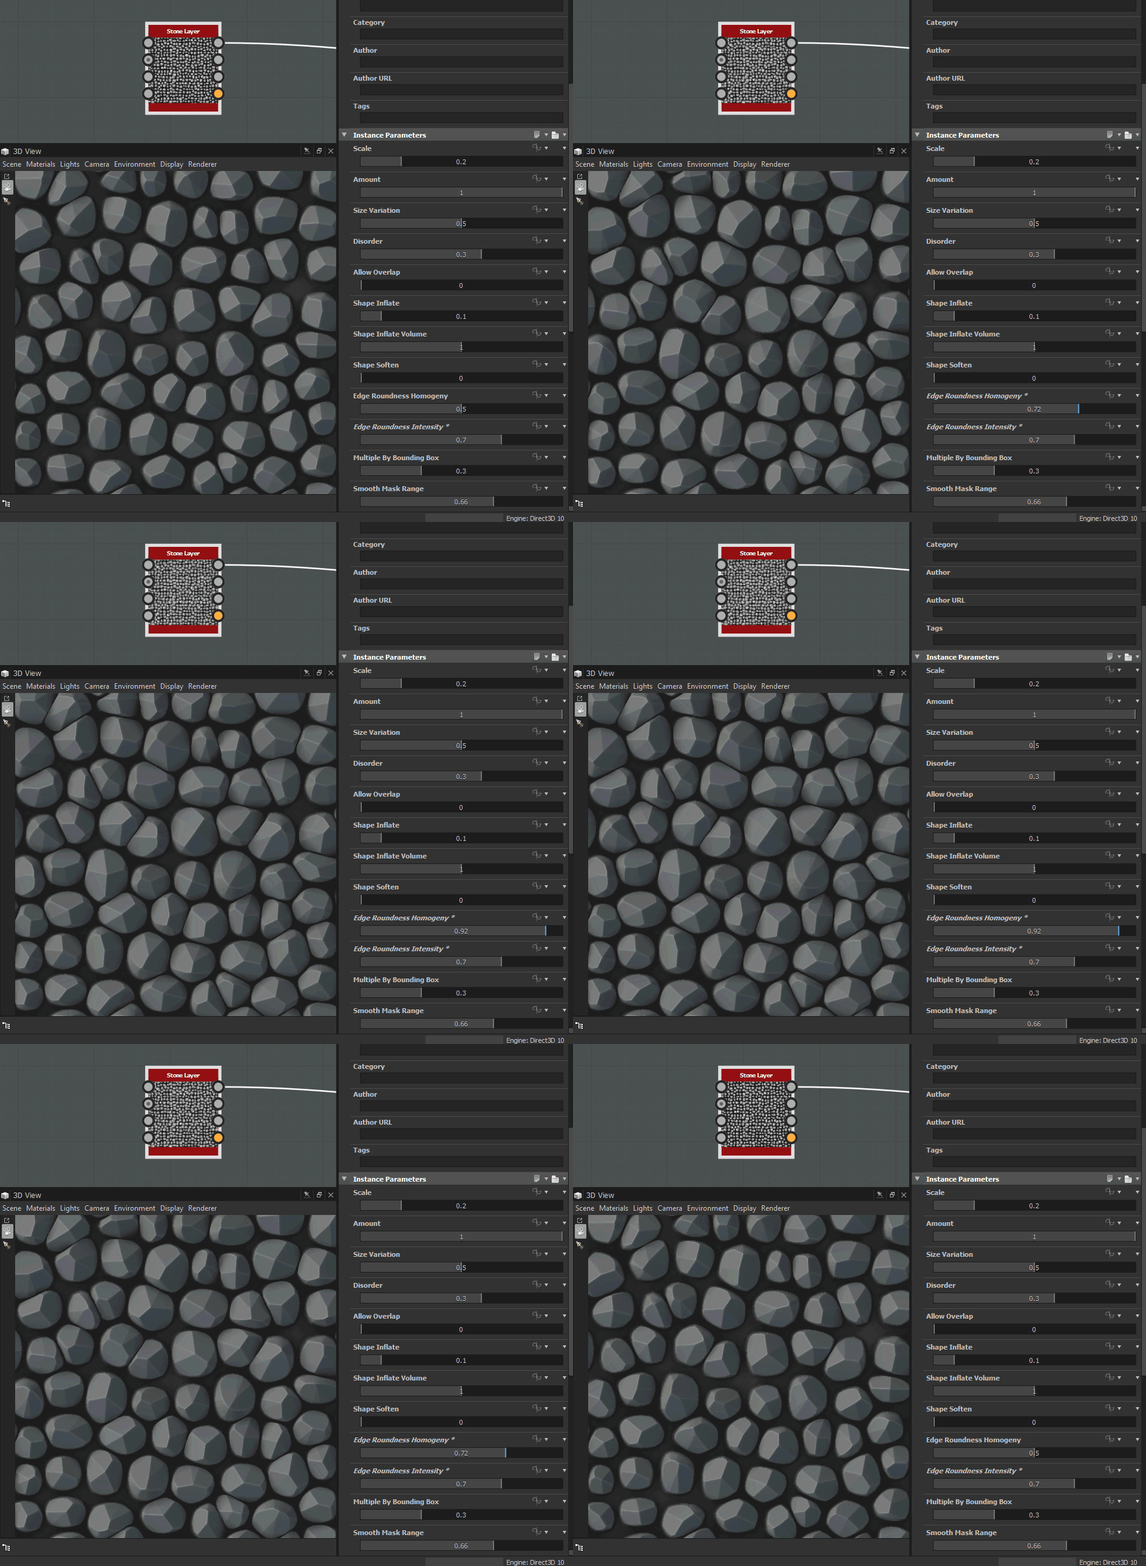
You can control how round each stone is:


Increasing this variable will retain more of the original stone shape, and keep the rounding to the sharp corners. Here we have an intense rounding value, but notice how the it still tries to push the shapes back out.


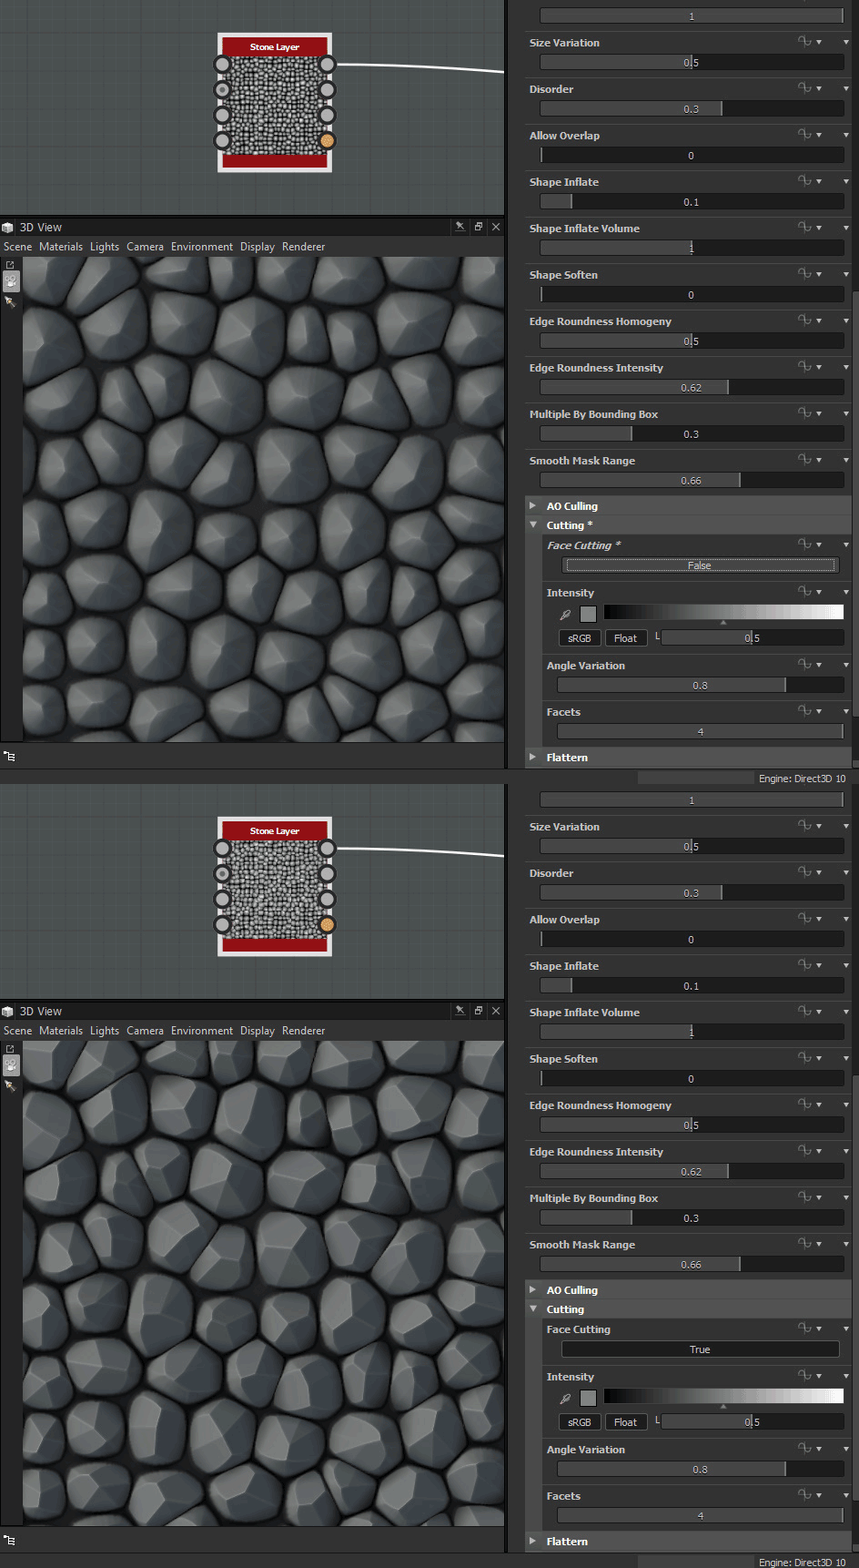
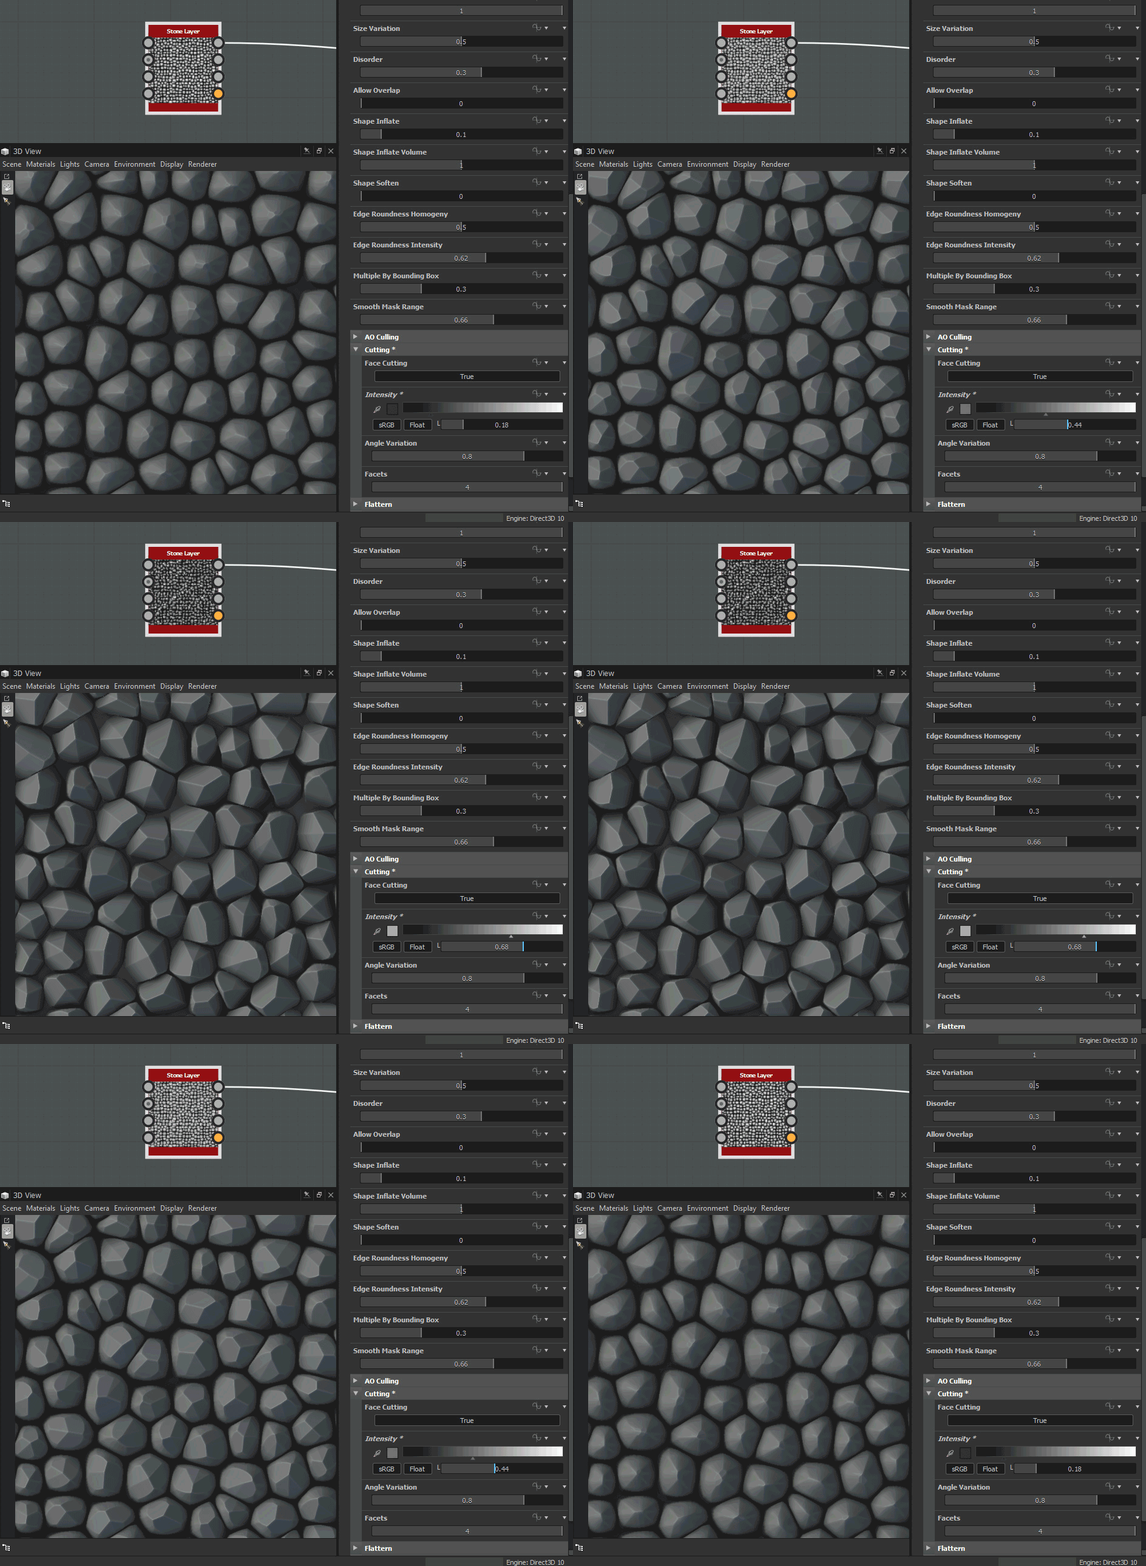
Ccontrols for cutting facings into the stone:


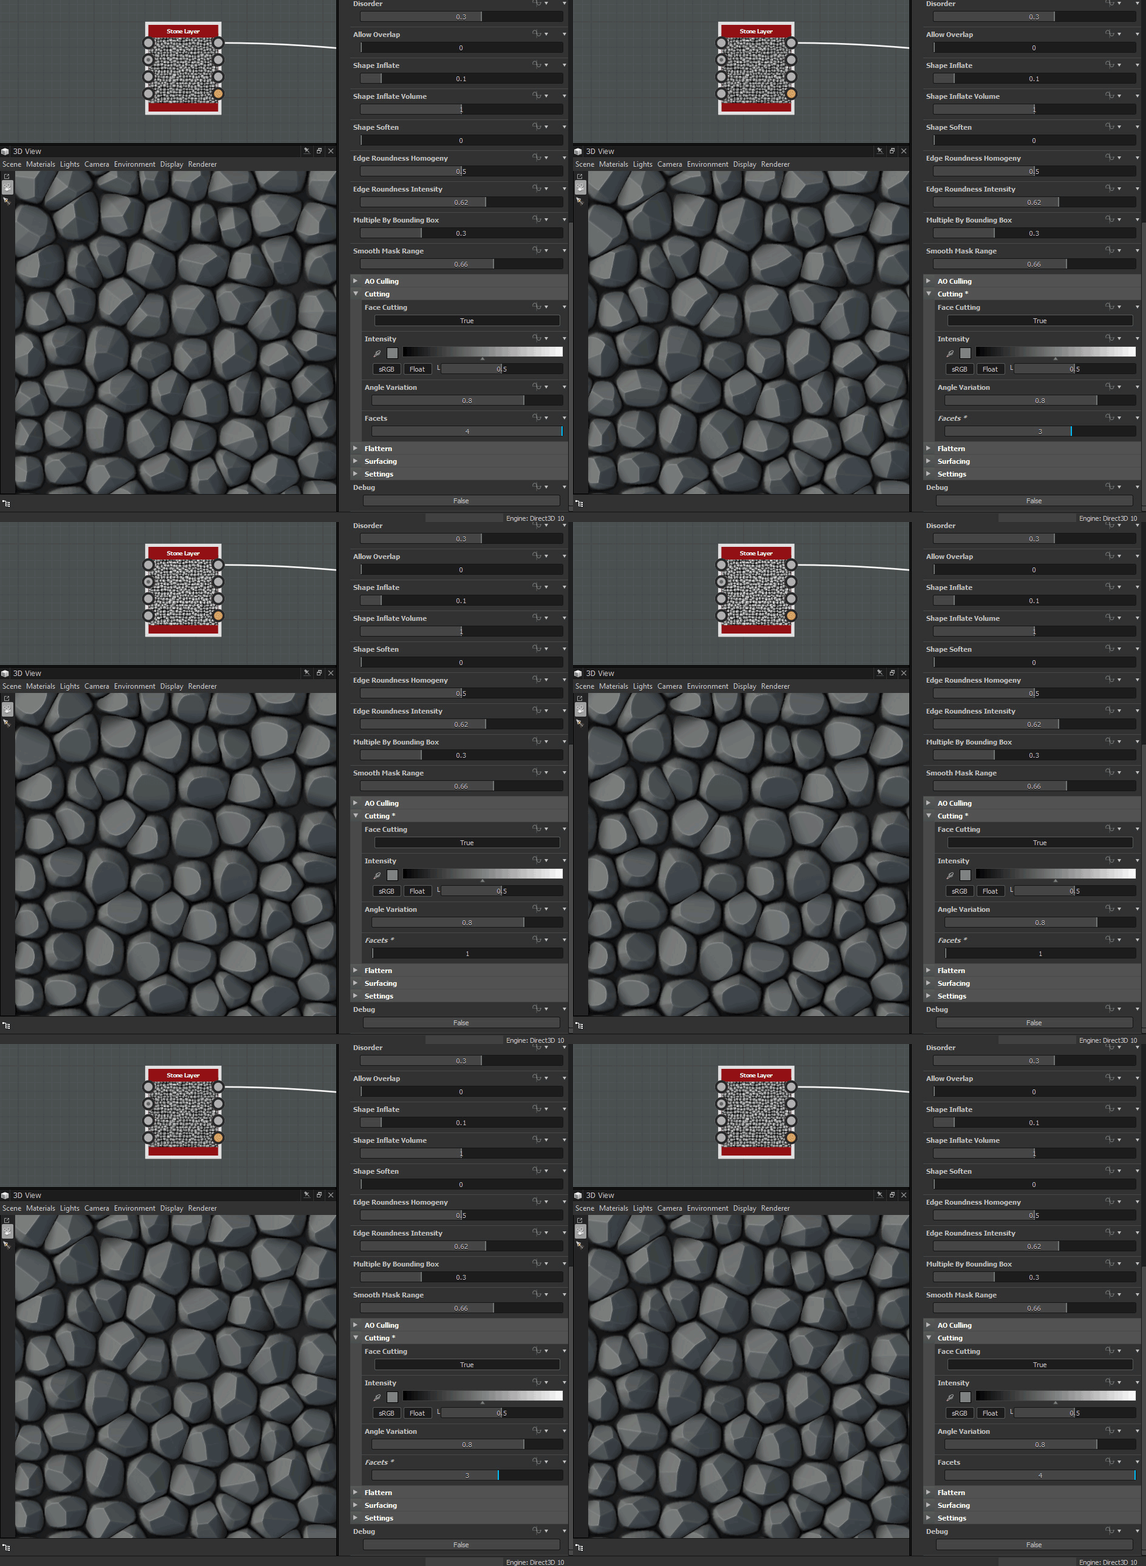
How many facets:


And an intensity control:


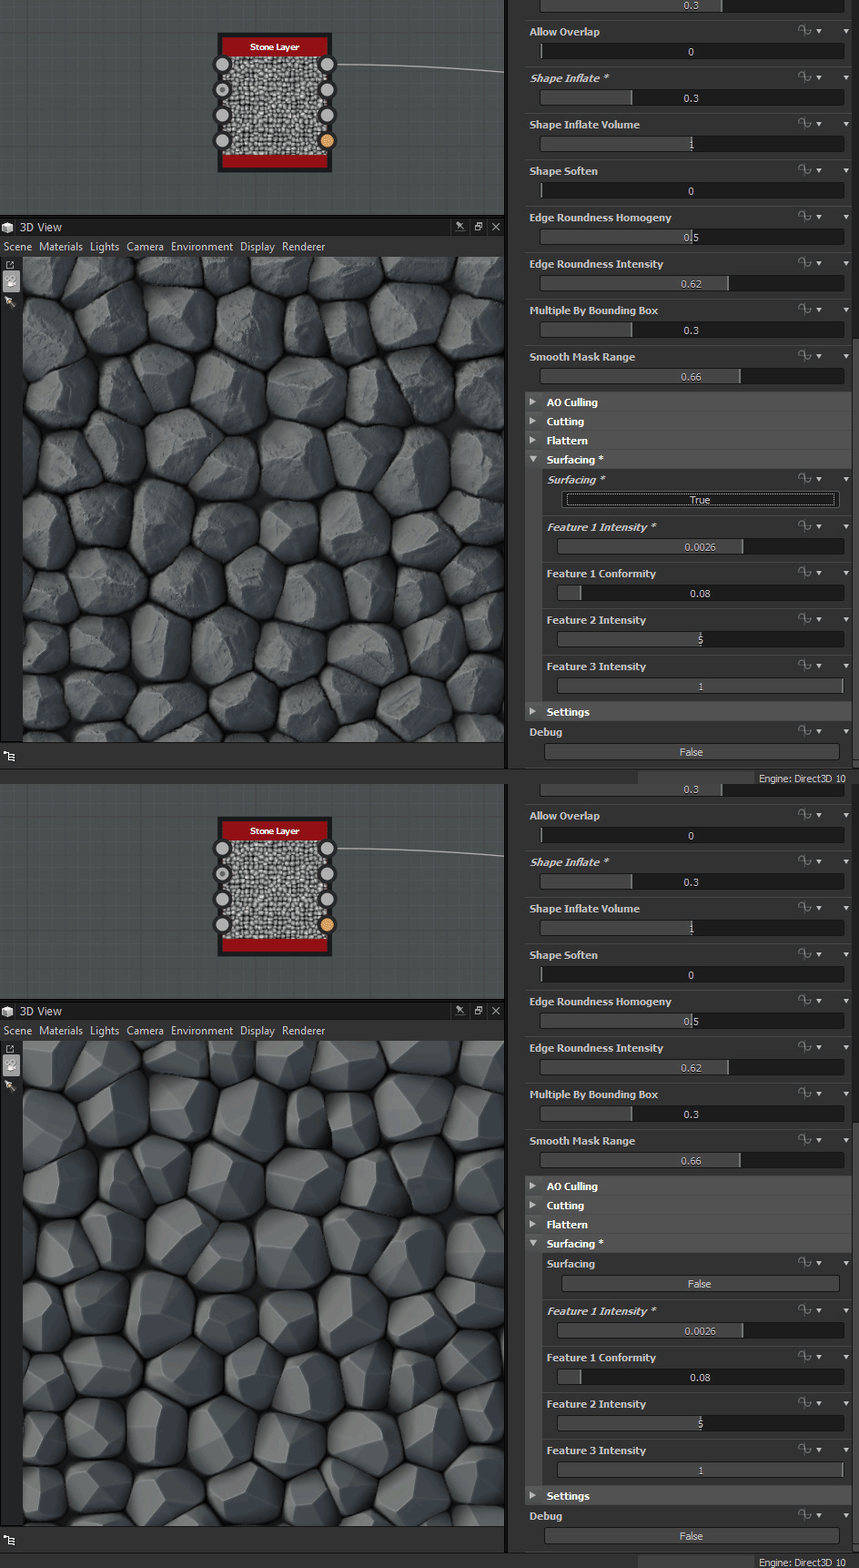
If you want some quick surfacing detail:


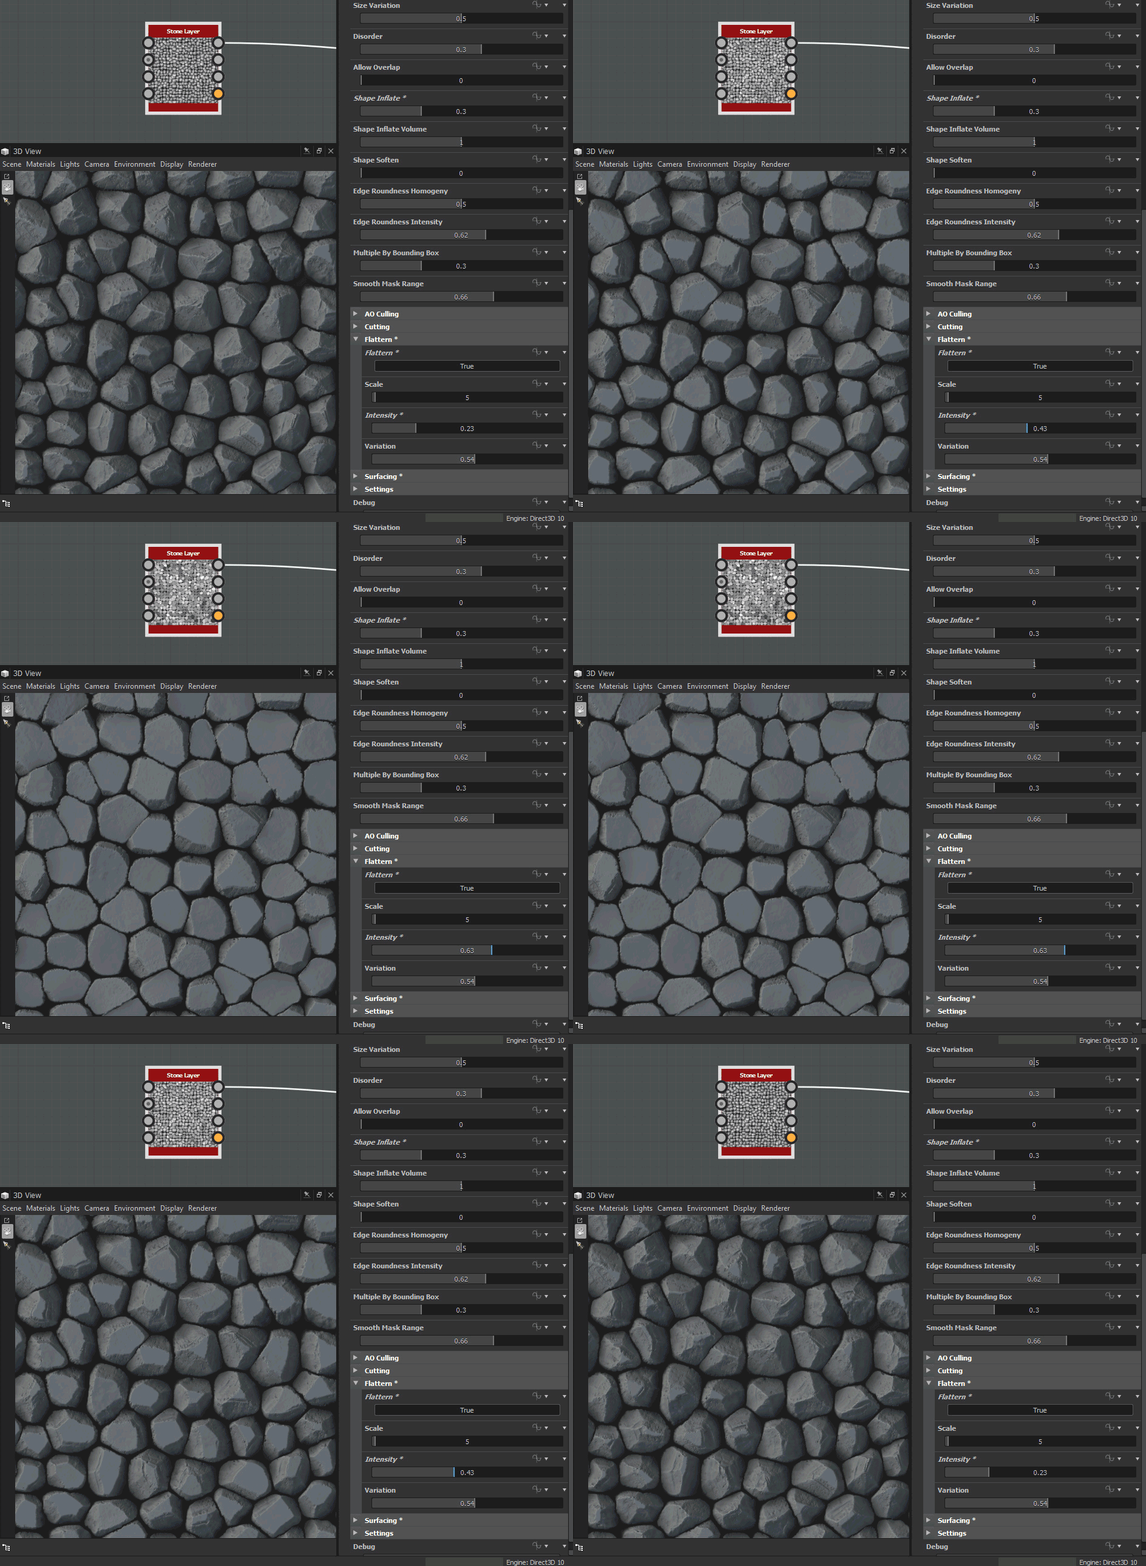
Or flatter shapes:


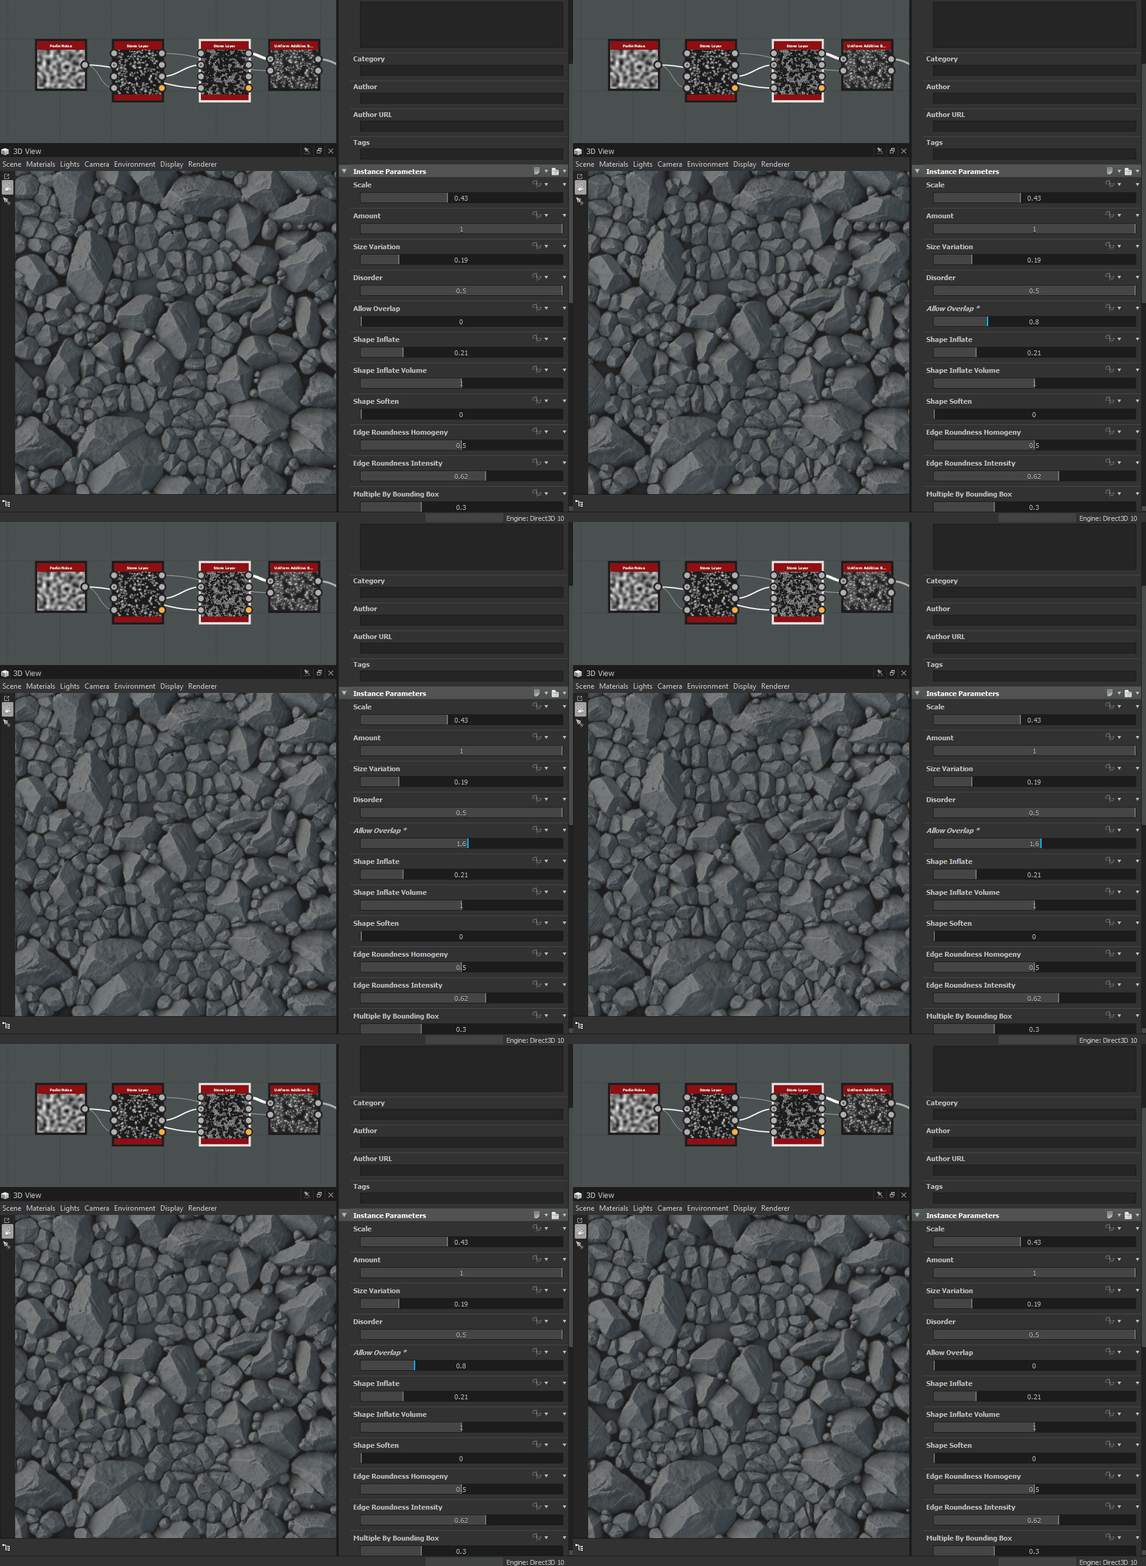
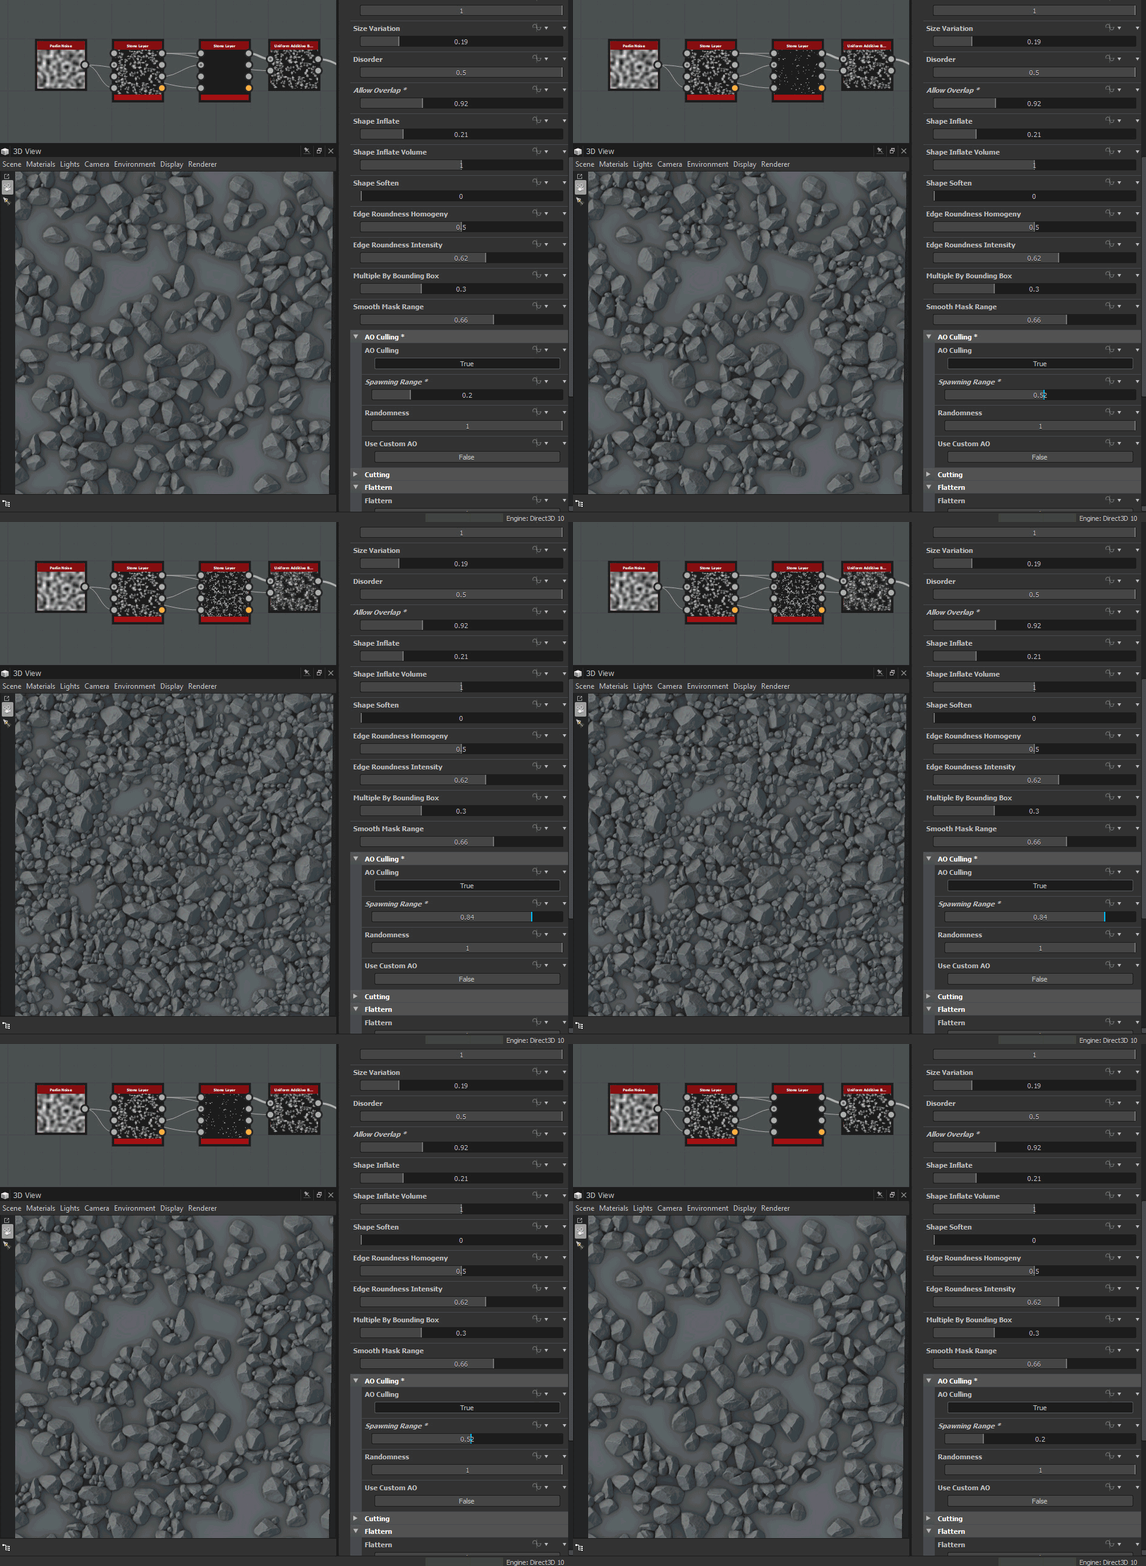
But this is the fun part. If we connect two layers together, the stones will dynamically scale down to reduce clipping. Here we have a second layer blending in but notice all the clipping! When we plug our mask in, the stones behave much more contextual and clipping is reduced:


We can however, control how much overlapping to allow. Notice here the stones get bigger the more overlapping we allow for:


If we connect our height data too, its possible to cull stones away in clusters:


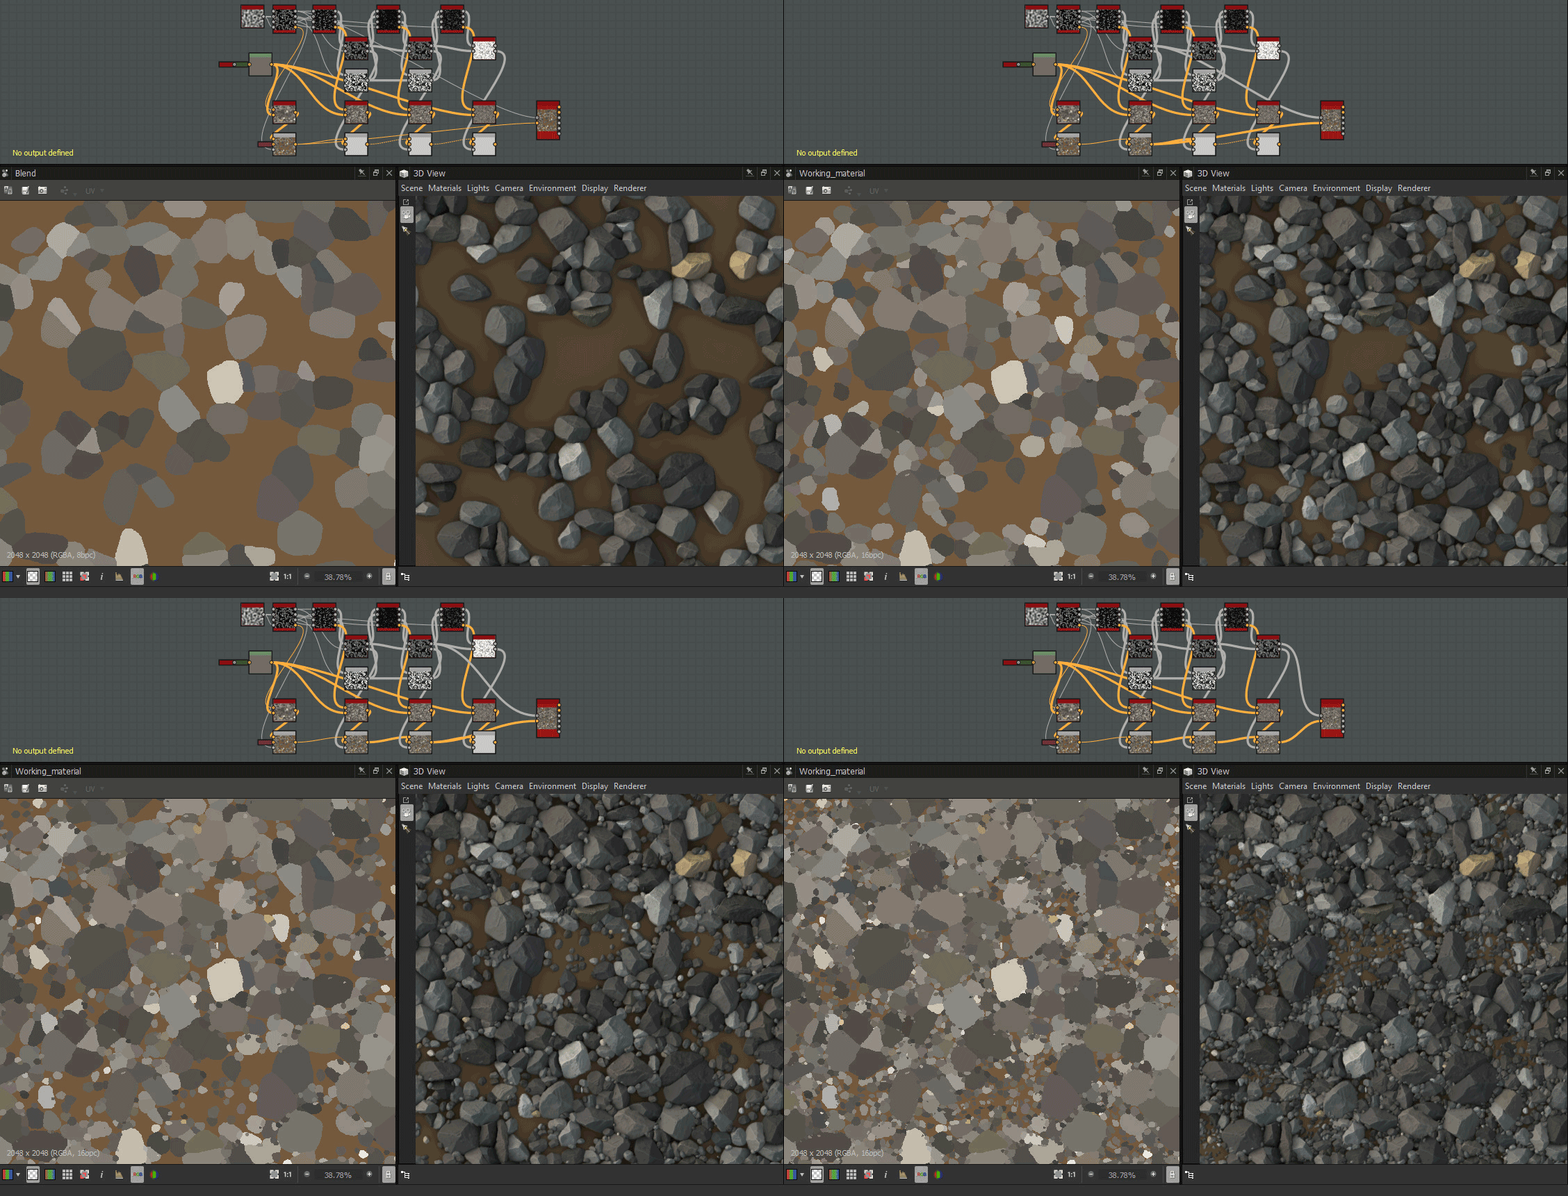
But how do we color this I hear you ask! Well I got you covered there too. It also generates position data for each stone and using that, I can sample a color for each stone.


And here is an example with 4 layers:


I haven't put this thing through its paces yet, will be trying it out with some proper use cases in the future but I feel like I'm making progress!